This is the guide that details the teardown of the original Nintendo Entertainment System console (NES - 001). This model is in very good condition so it should be easy to follow along.
.JPG)
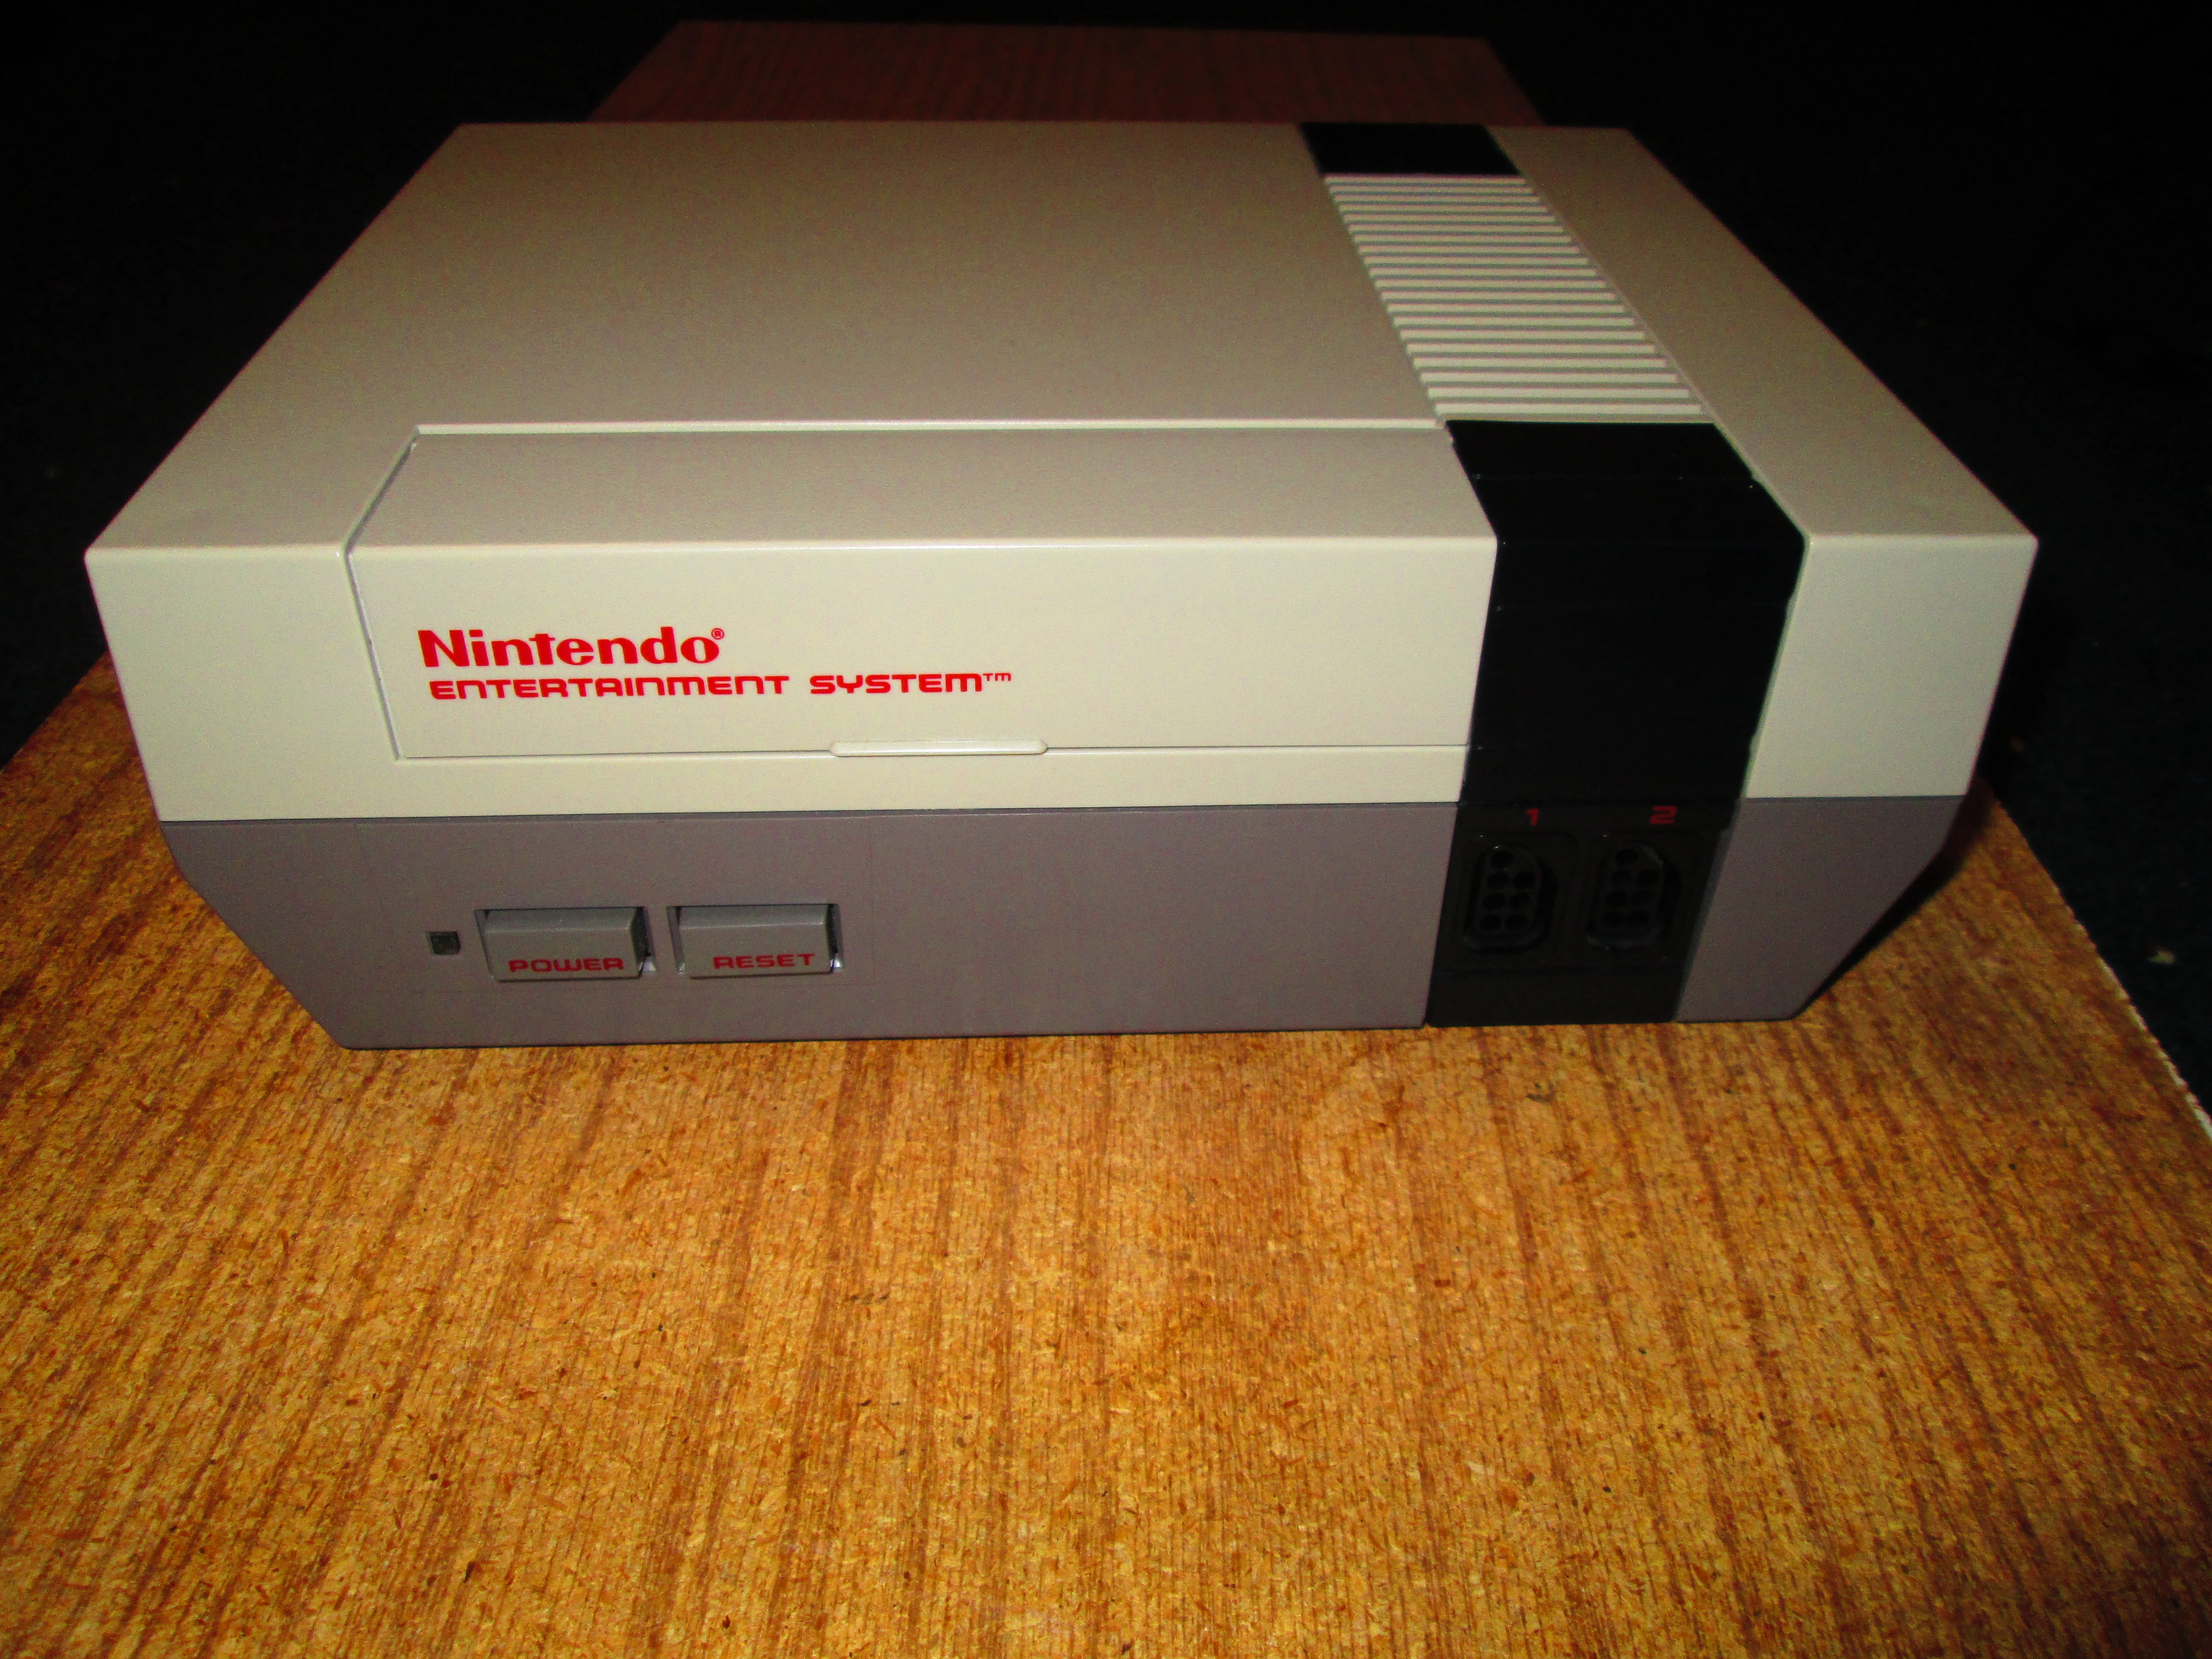
Nintendo Entertainment System.
Setup[]
Have your Nintendo Entertainment System unplugged and placed on a hard work surface, I used a wooden board. This console is very easy to disassemble, but you will still need a couple of tools.
Tools[]
- #2 Philips head screw driver
- #2.5 or #3 flat head screw driver
- Possibly a thin prying device, my nails work fine.

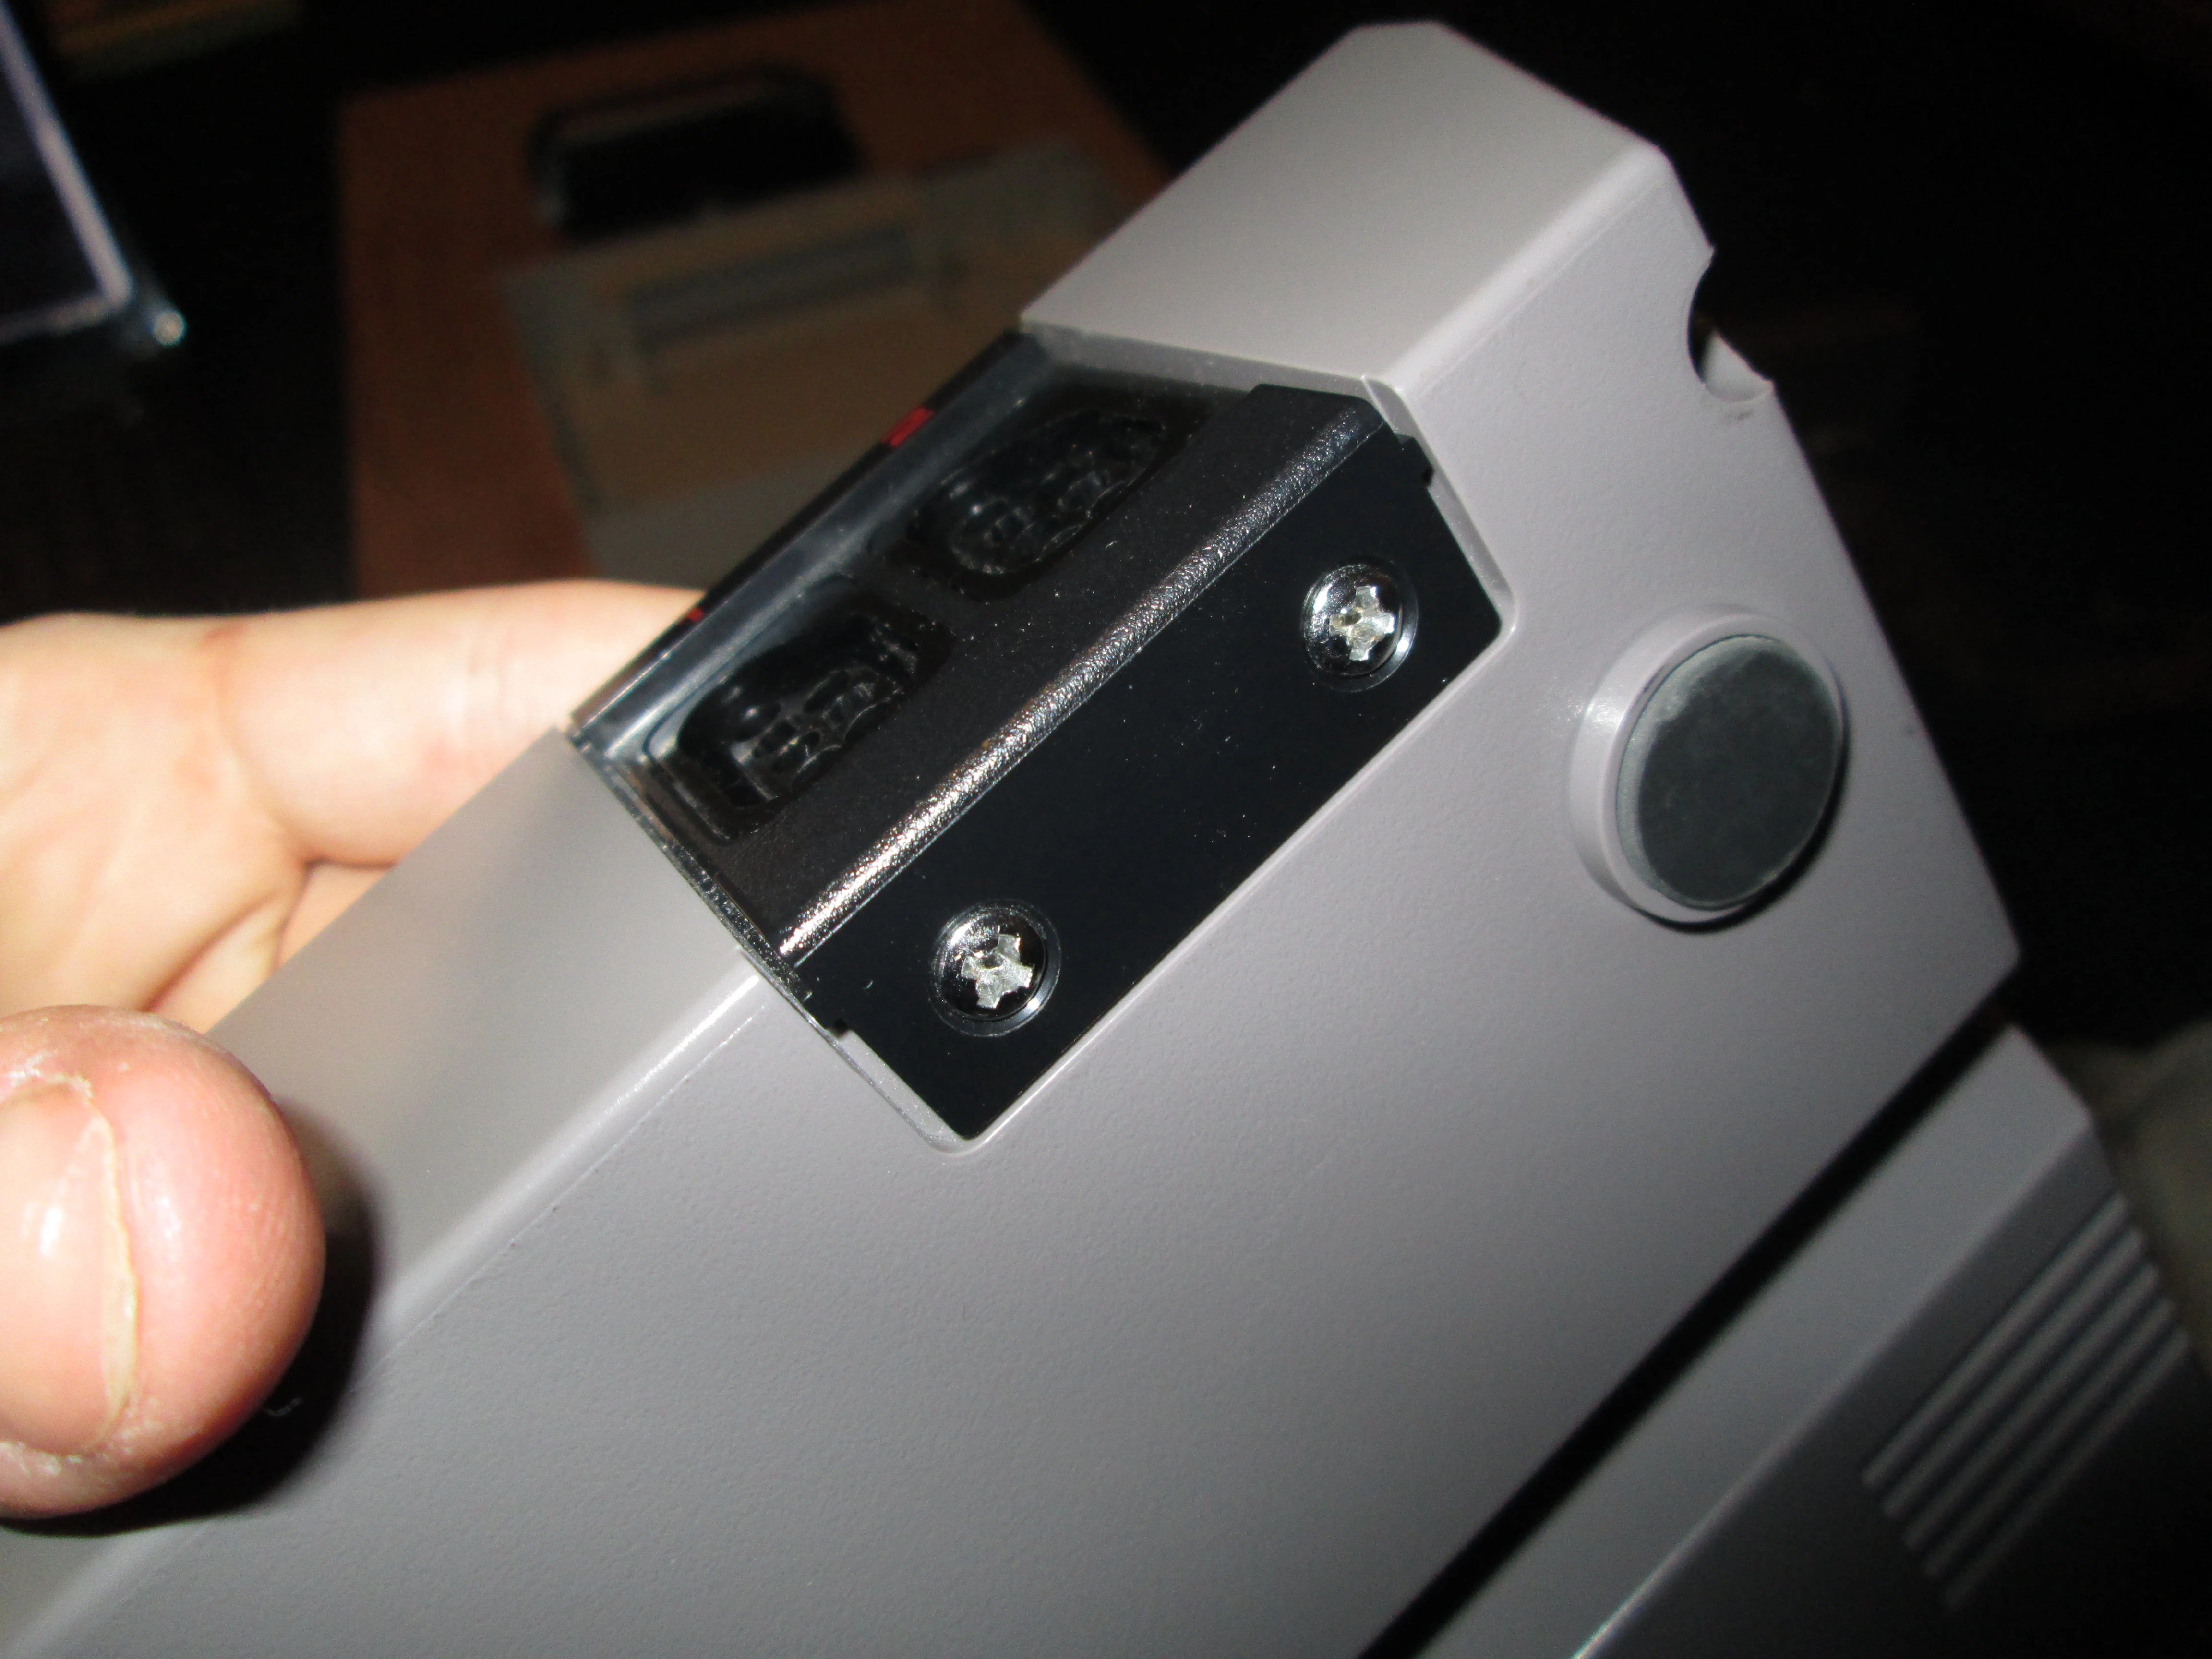
Grey Box
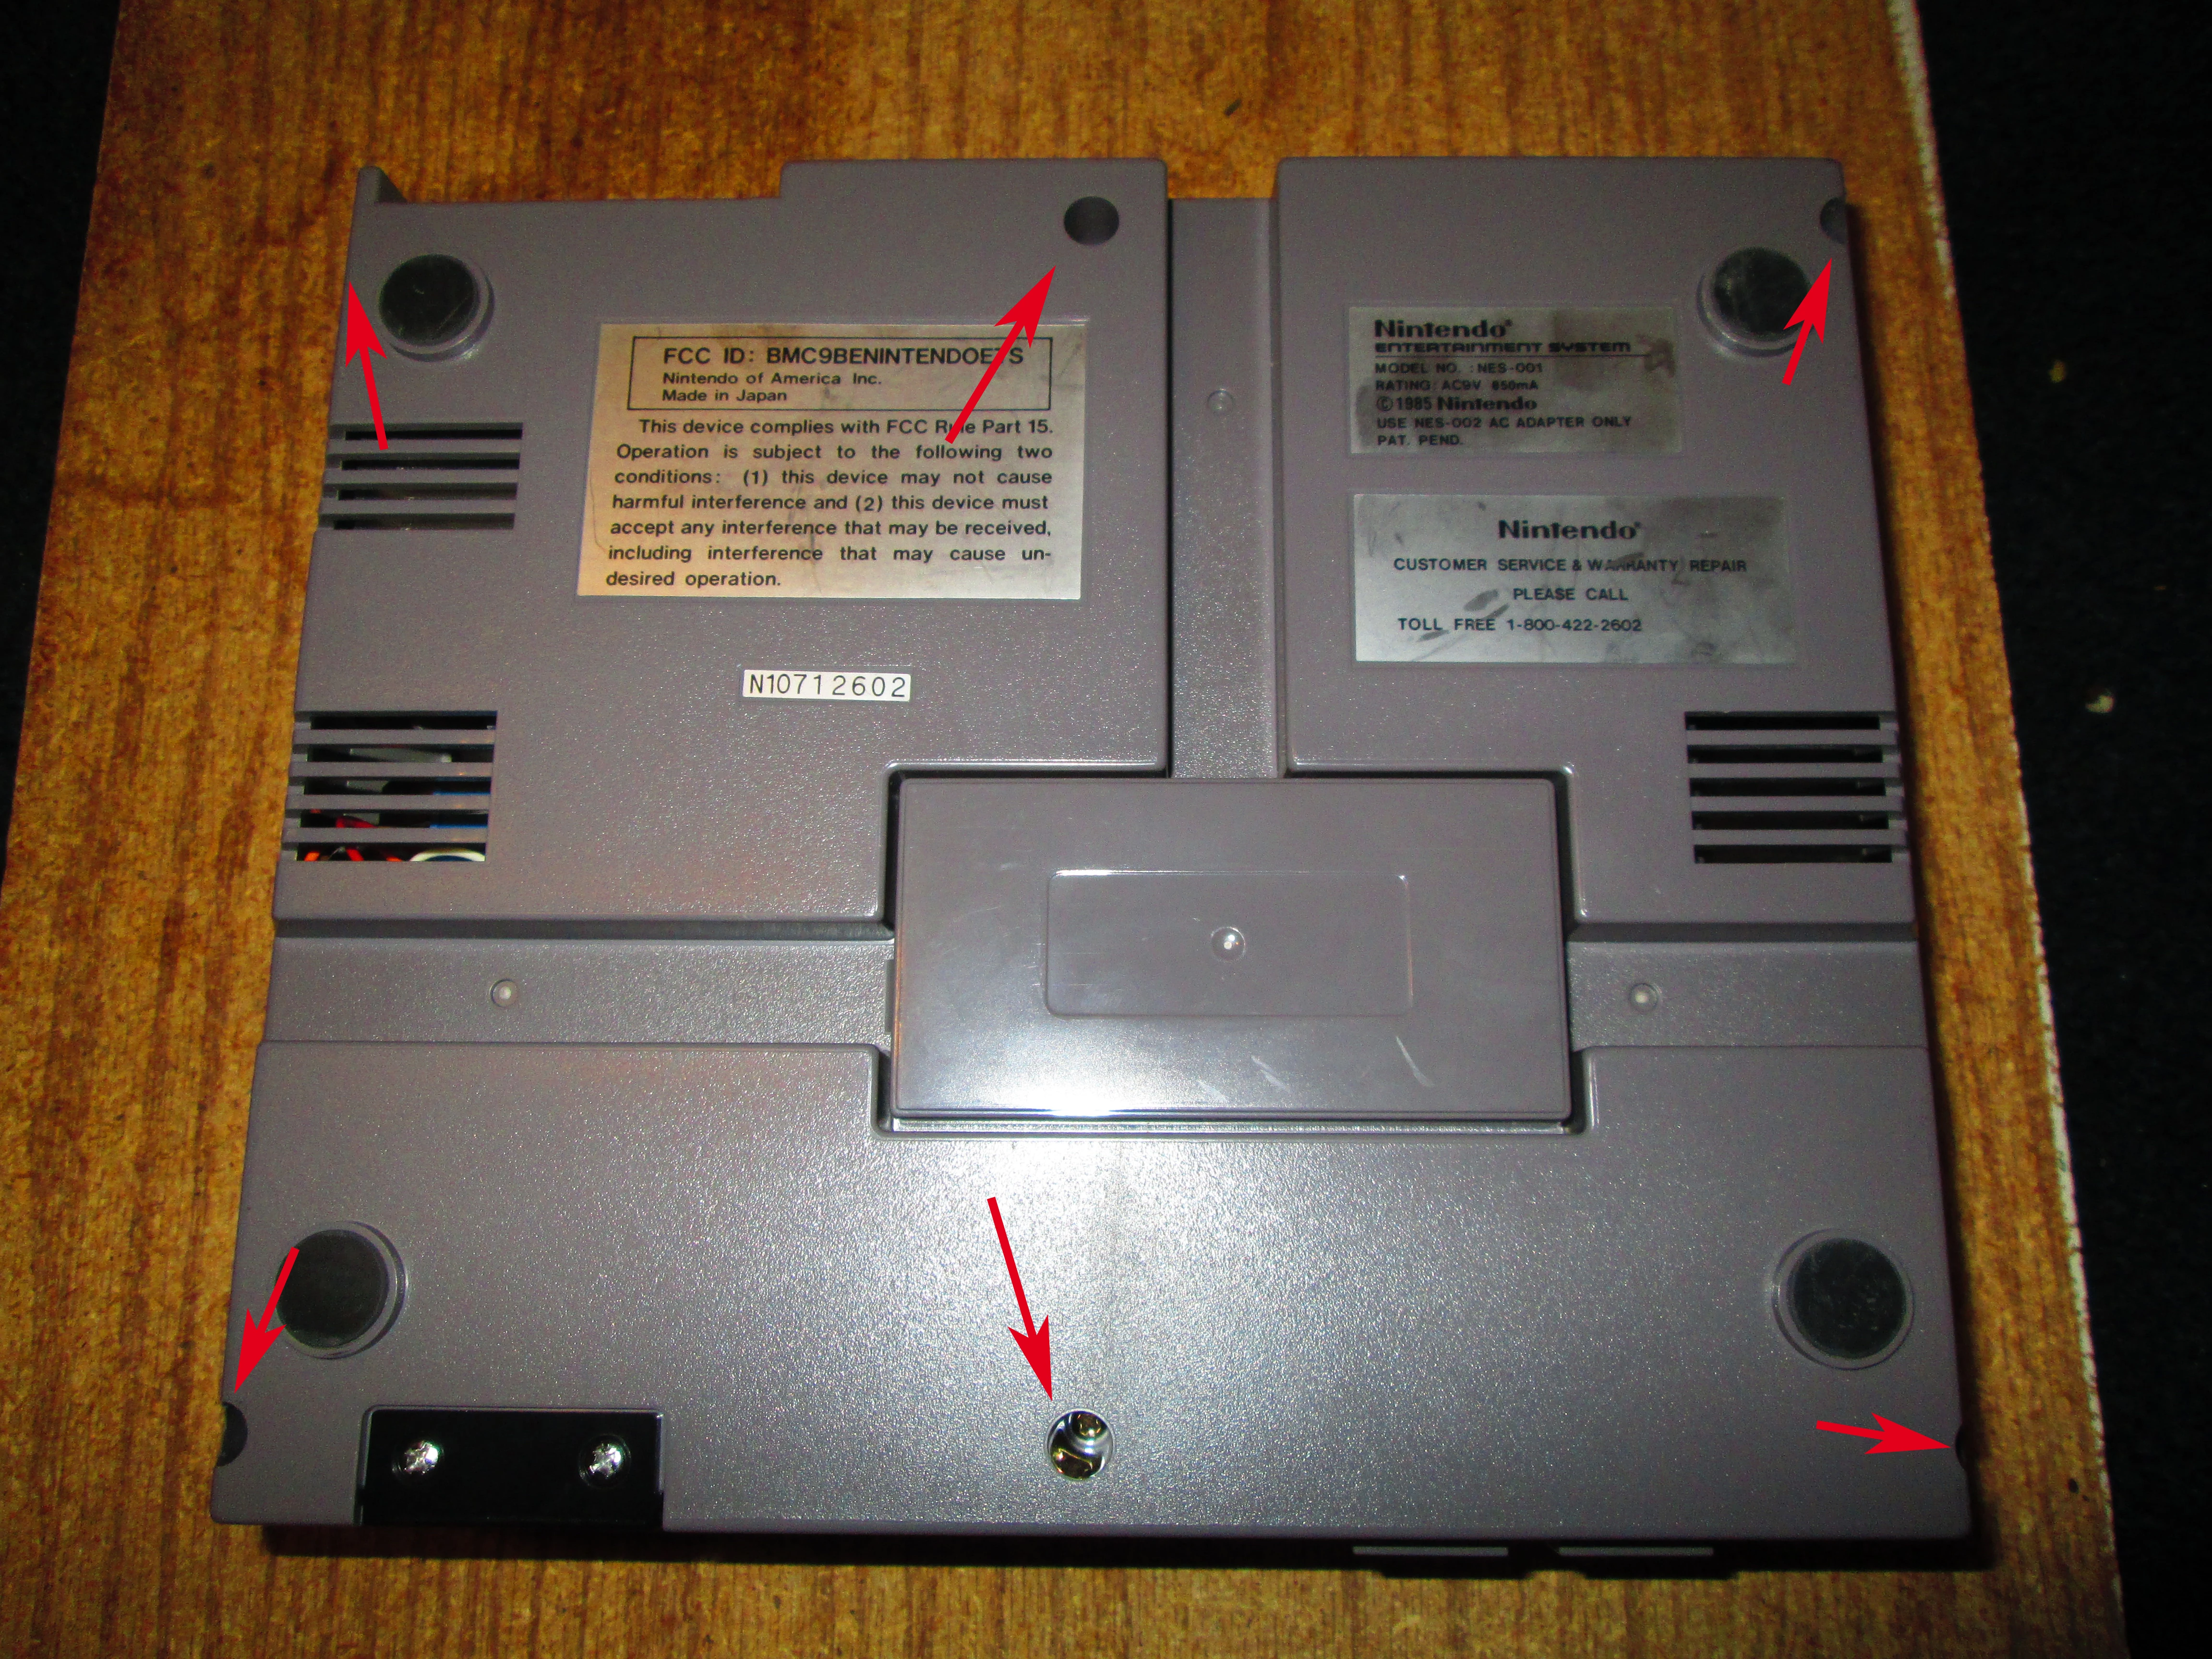
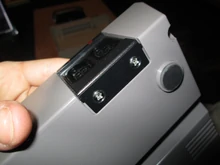
That is all you will need when it comes to tools. Before we start begin by flipping your system over and looking for a grey box in the bottom of the console. Squeeze the two sides and pop it off. You can use this as a box for screws during the teardown.
Step 1 - Screws on the bottom[]
0At the bottom of the NES console there are 6 screws. Every screw at the bottom is a Philips head #2, plus they are all the same length. They are a bit deep so be sure that the screw driver fits in these holes. Once you have unscrewed all of these you can add them to the grey box. Now flip the system back over and pull the top half of the console off carefully, this should be very easy so don't force it.
Step 2 - The screws around the shielding[]

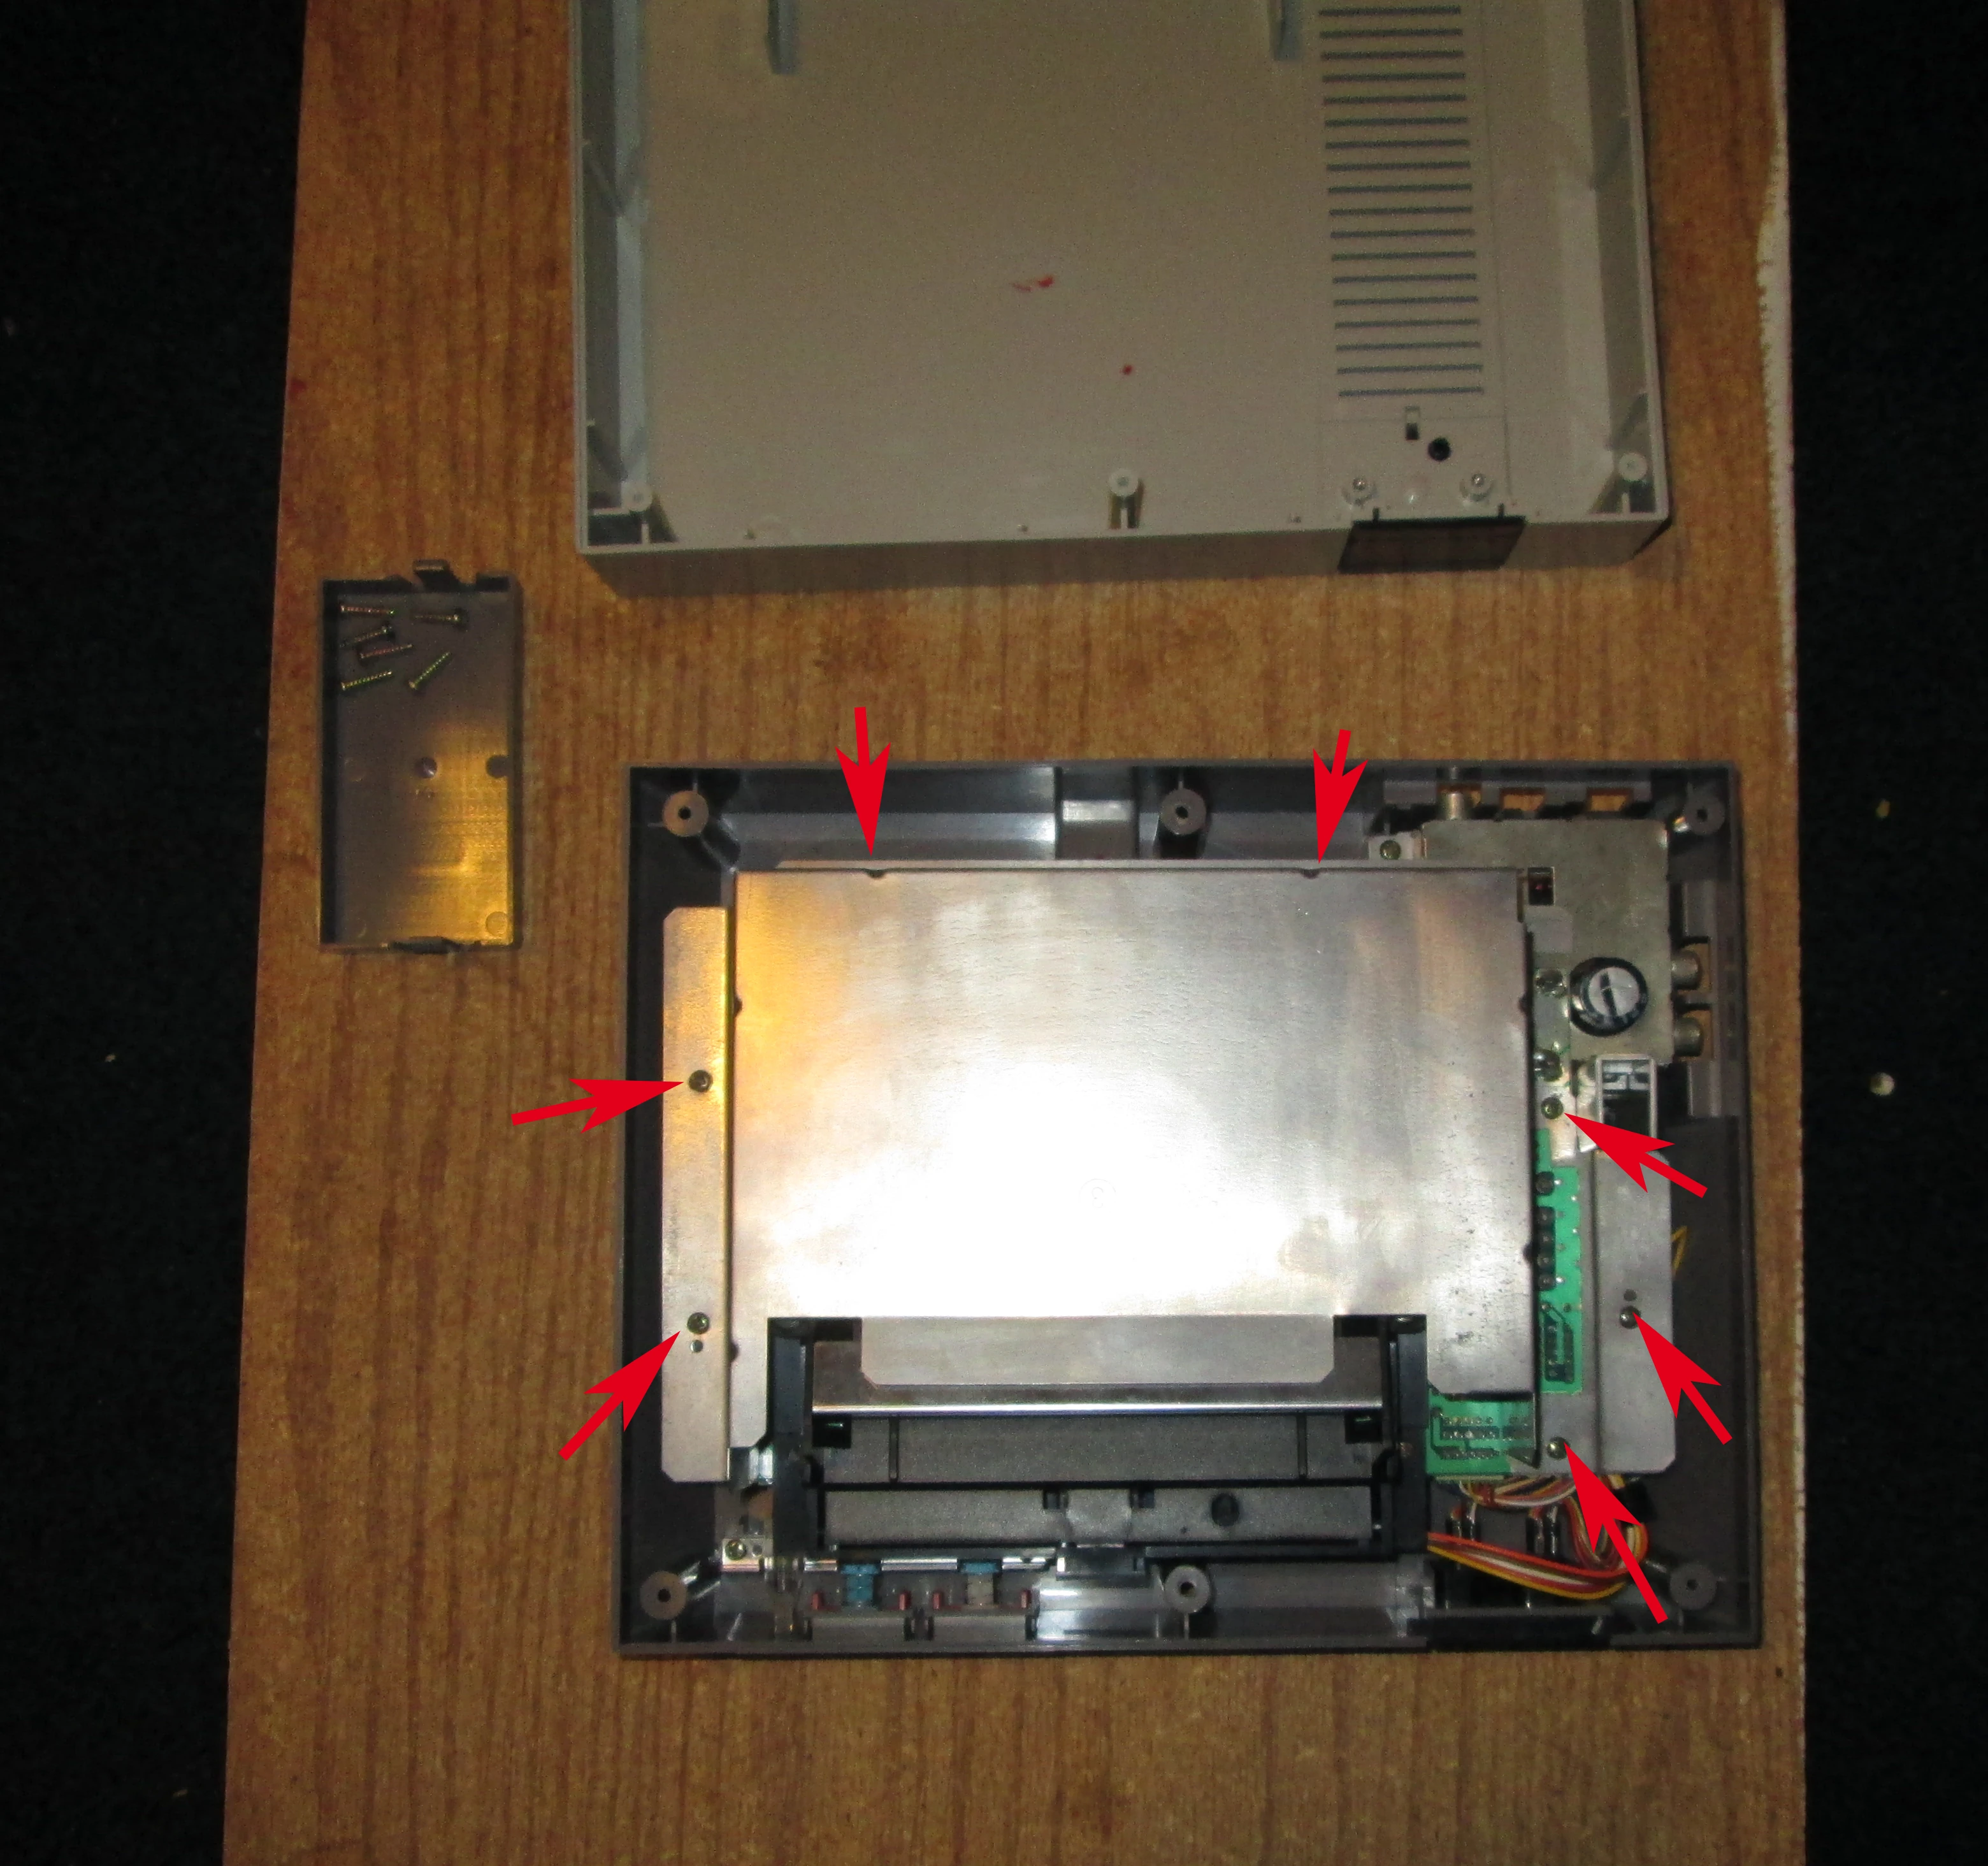
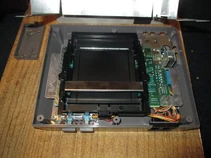
Once you have taken off the top half of the console you should see this large metal box thing atop the electronics below. This is metal shielding to prevent 21damage and interference. Around the outside of the shielding there are seven #2 Philips head screws that are the same as the six you removed from the outside.
Once you have all seven of these unscrewed, the shielding should just lift straight off. You can place this off to the side.
Step 3 - Removing the cartride slot[]
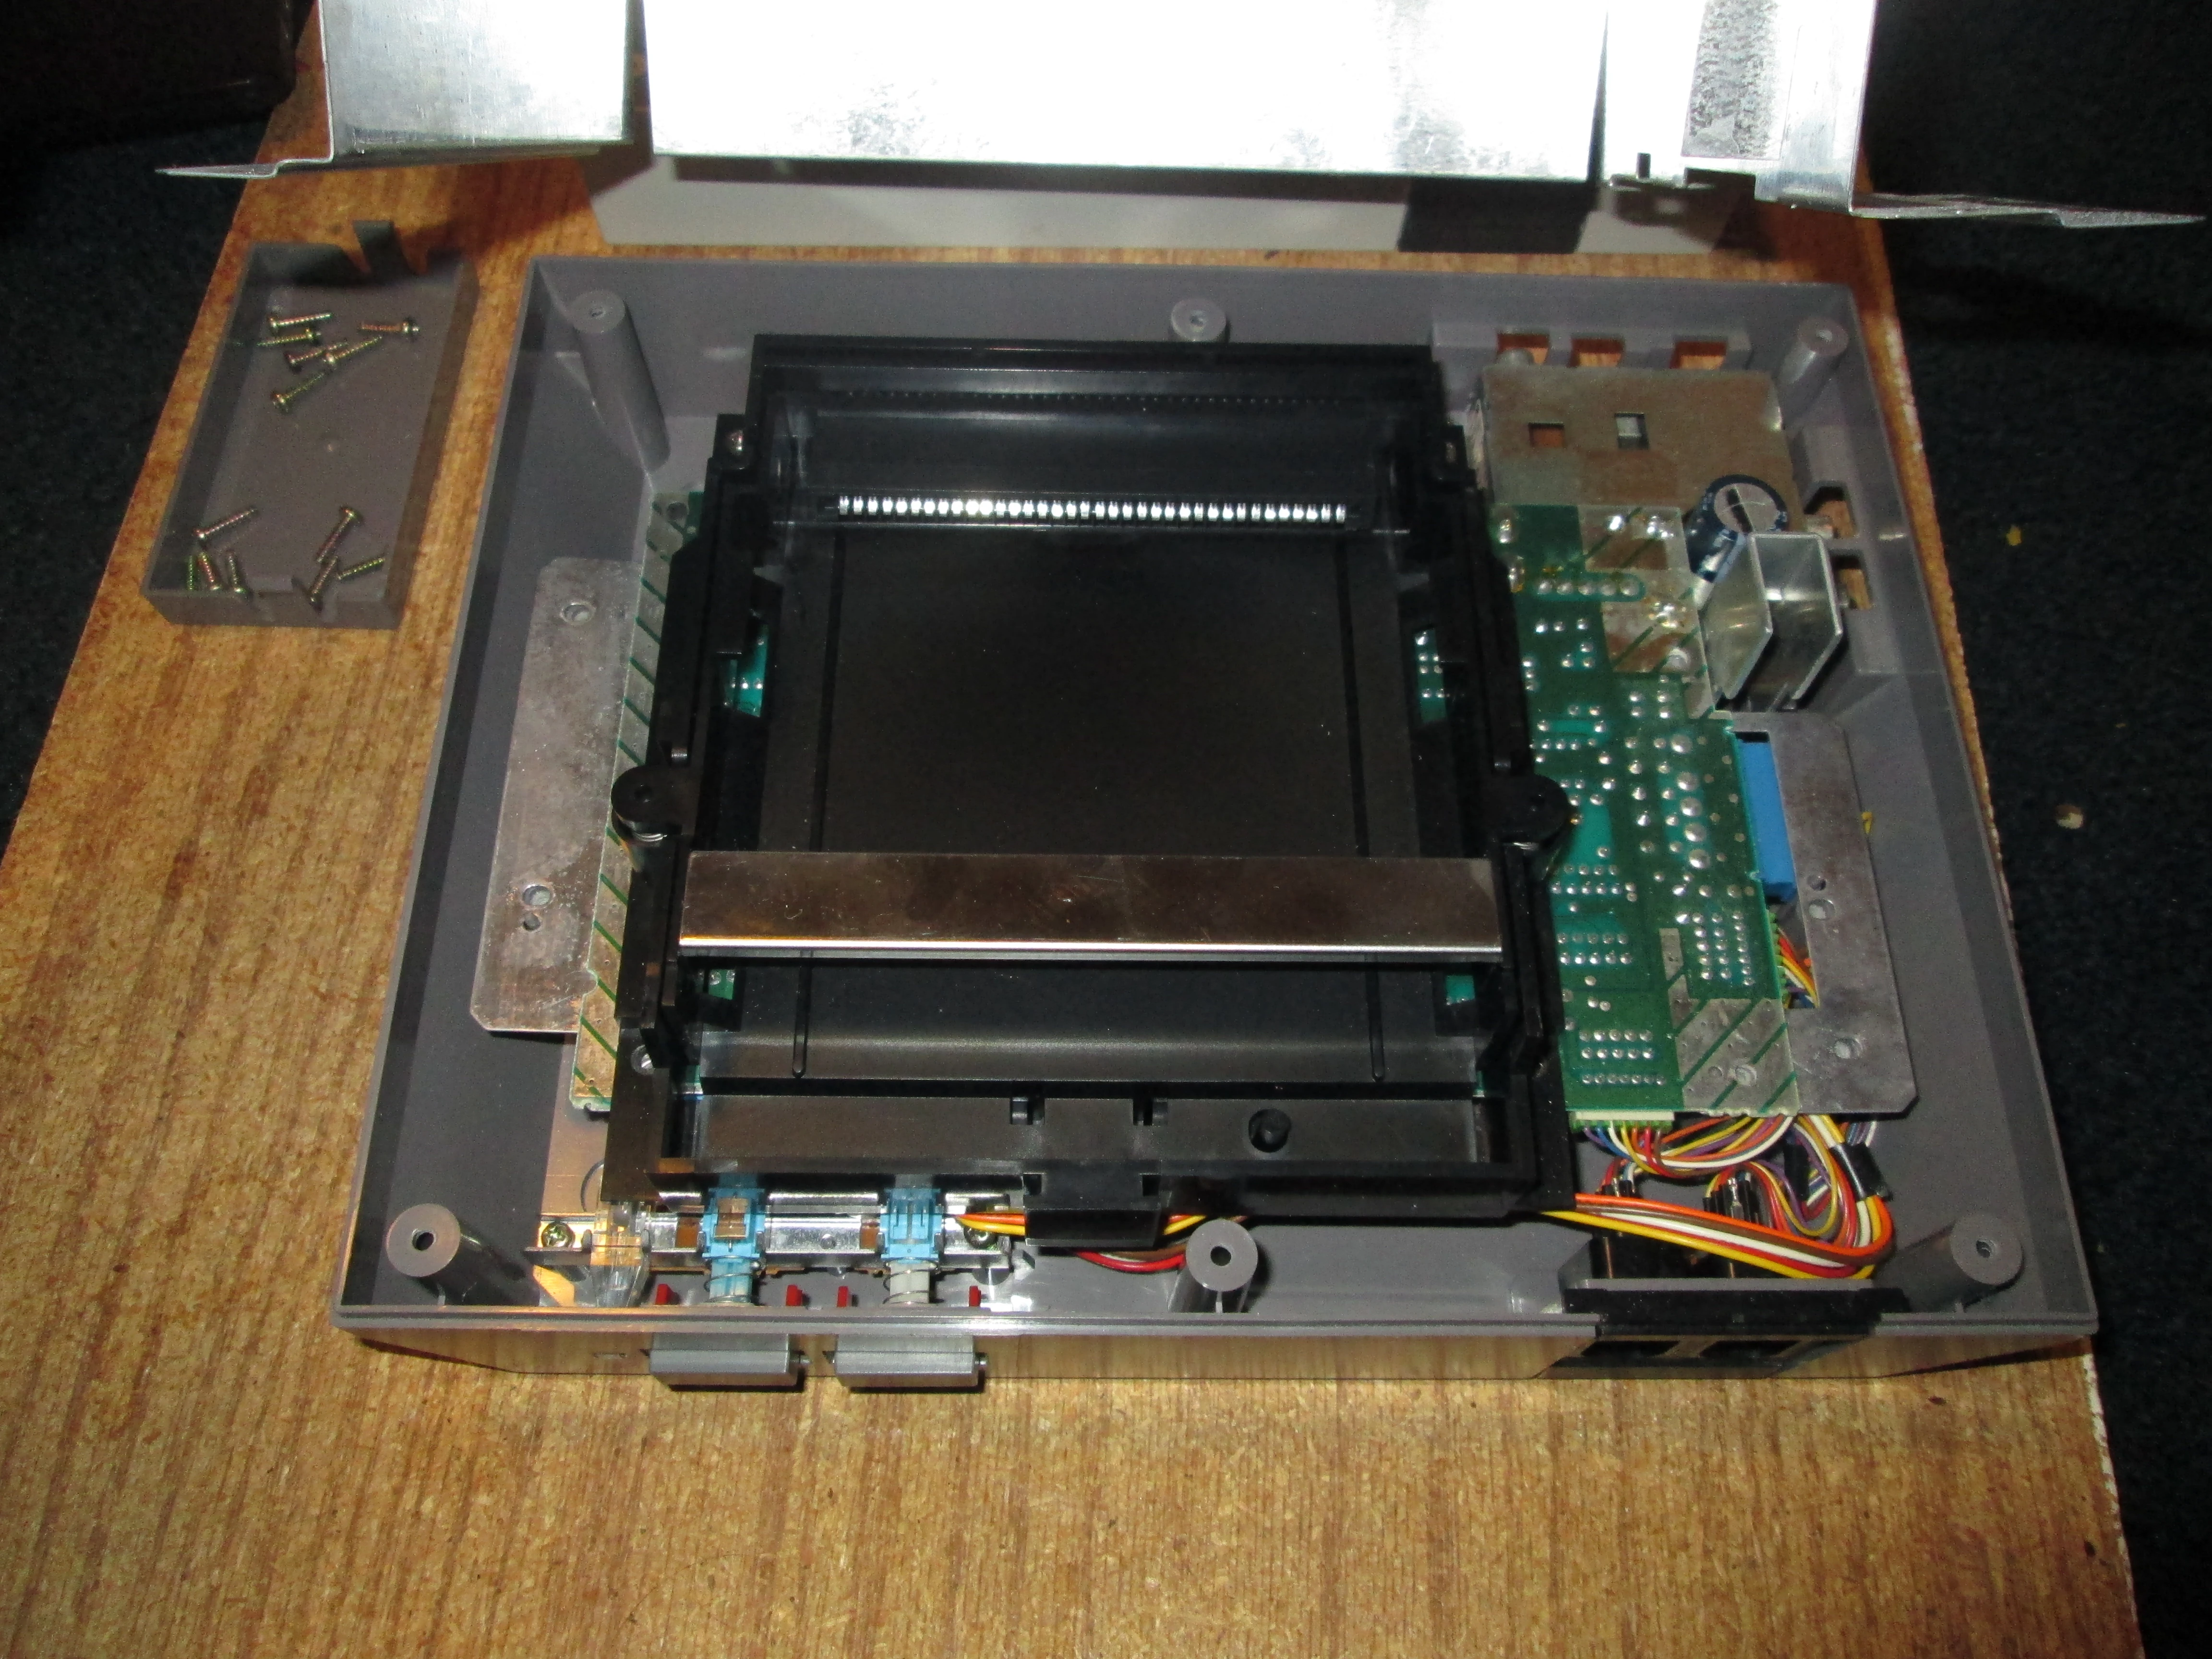
Cartridge slot

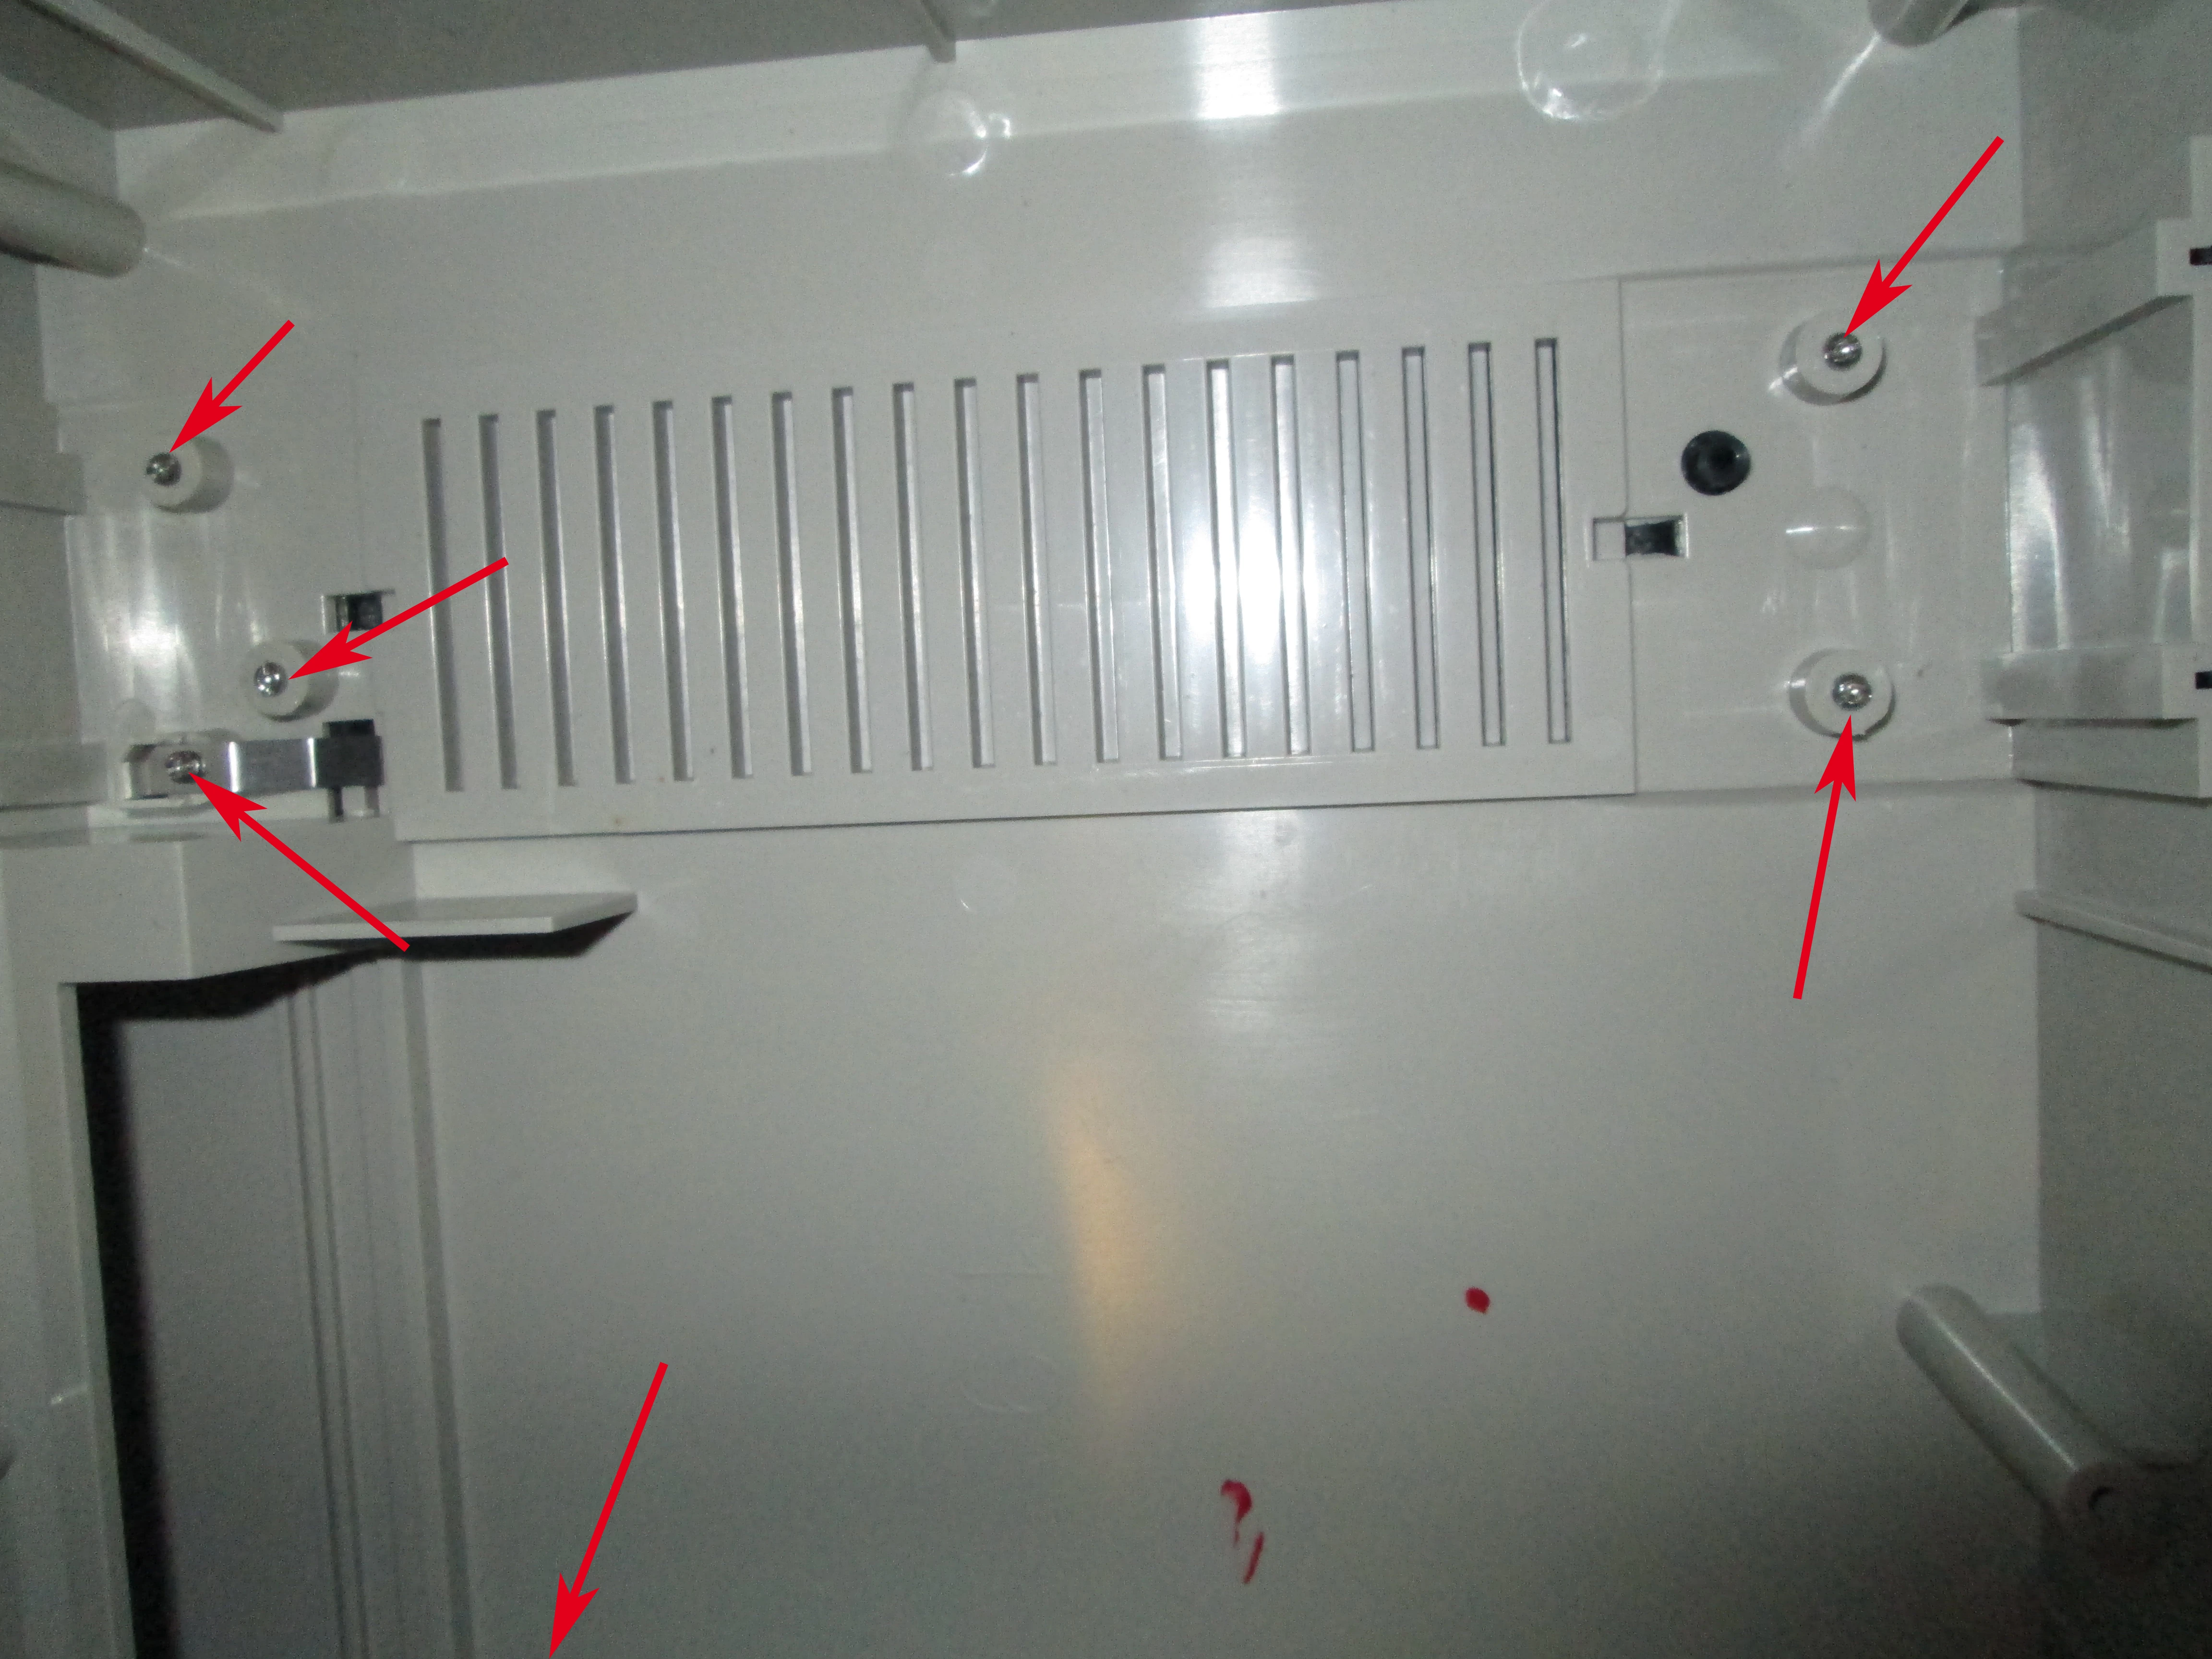
The cartridge slot is held onto the system board by 6 screws, 4 in the back and 2 in the front near the opening. They are all #2 Philips head screws, but 2 in the back on the cartridge slot are more silver and are longer. Be sure to note this so you don't put these in the incorrect location when re assembling your system.

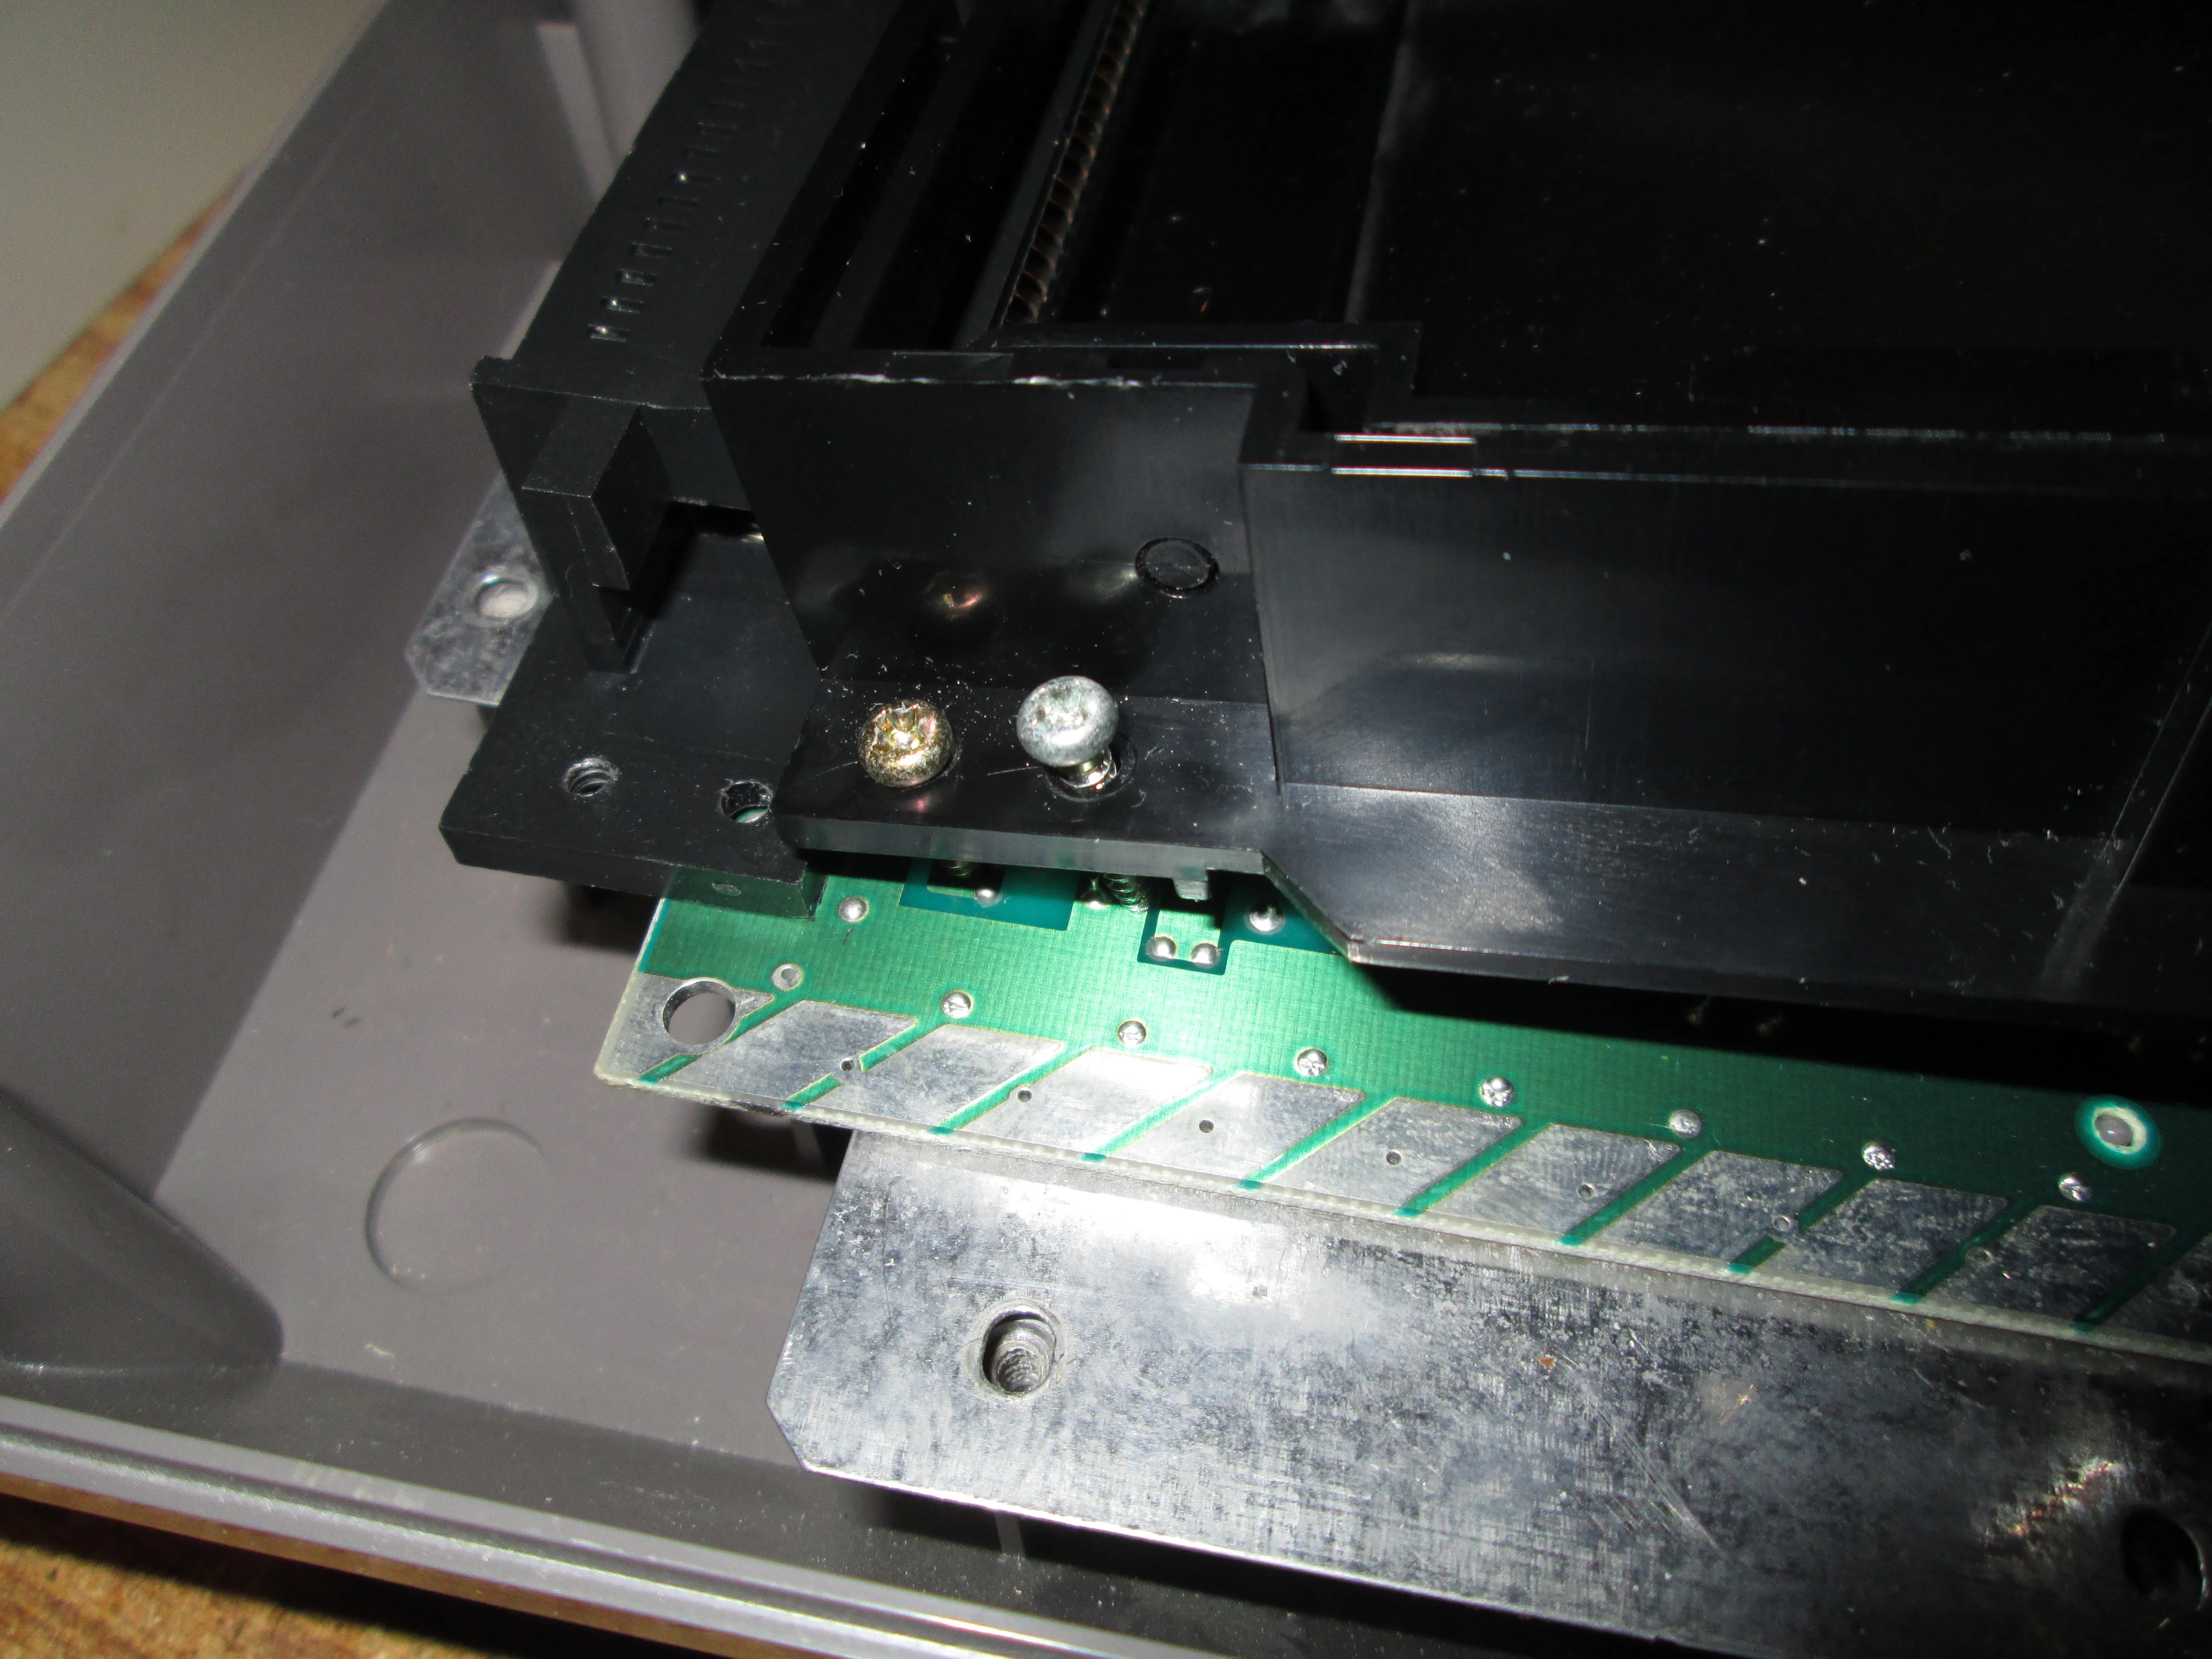
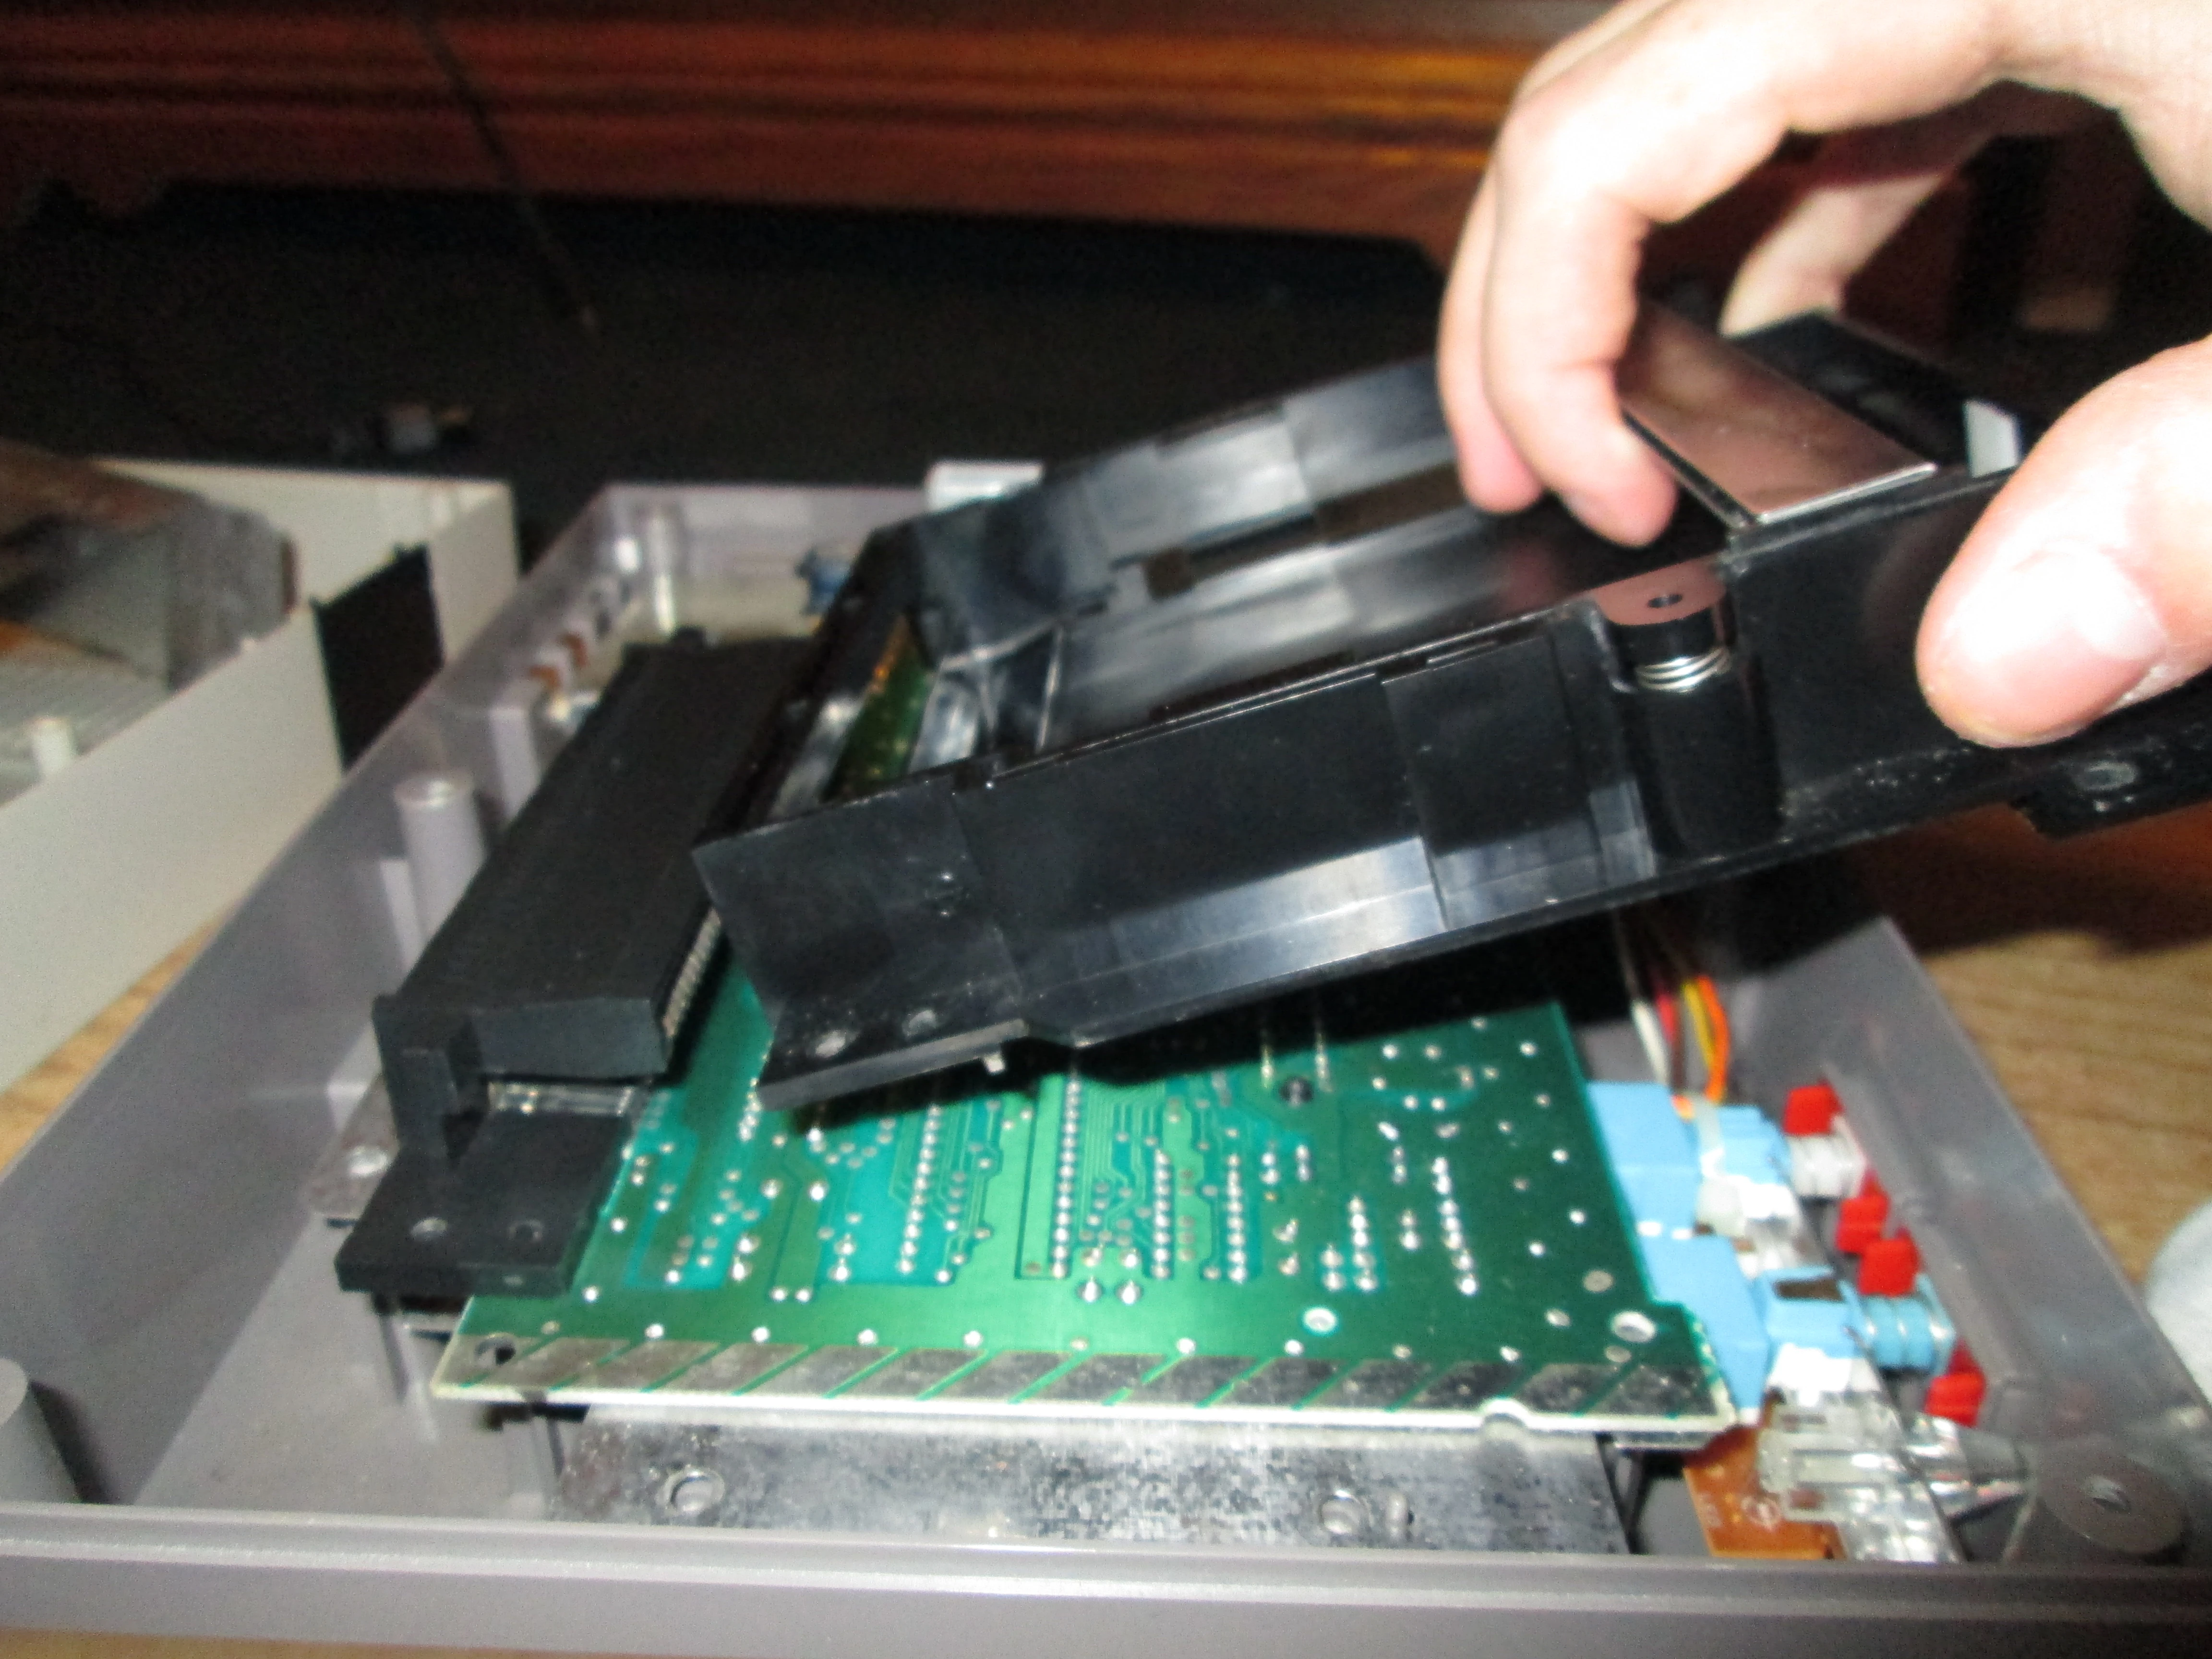
When removing the Cartridge slot do not pull straight upwards this will damage the 72 pin connector. You will need to pull outwards until the pin connector is no longer inside the slot. Once it is not in the slot you can pull the cartridge slot right out.
Step 4 - Removing the board and unplugging wires[]

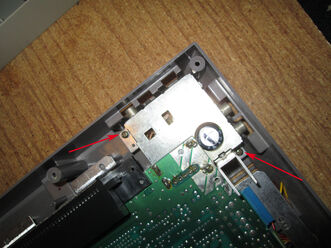
Last two screws
There are 2 more wires that hold the board to the plastic casing so we will need to remove them. The last two screws are located next to the Video-out and power box in the back right corner of the console. Unscrew these then lift the whole board up and flip it over. Be careful when flipping it over because there are many wires that you do not want to break.

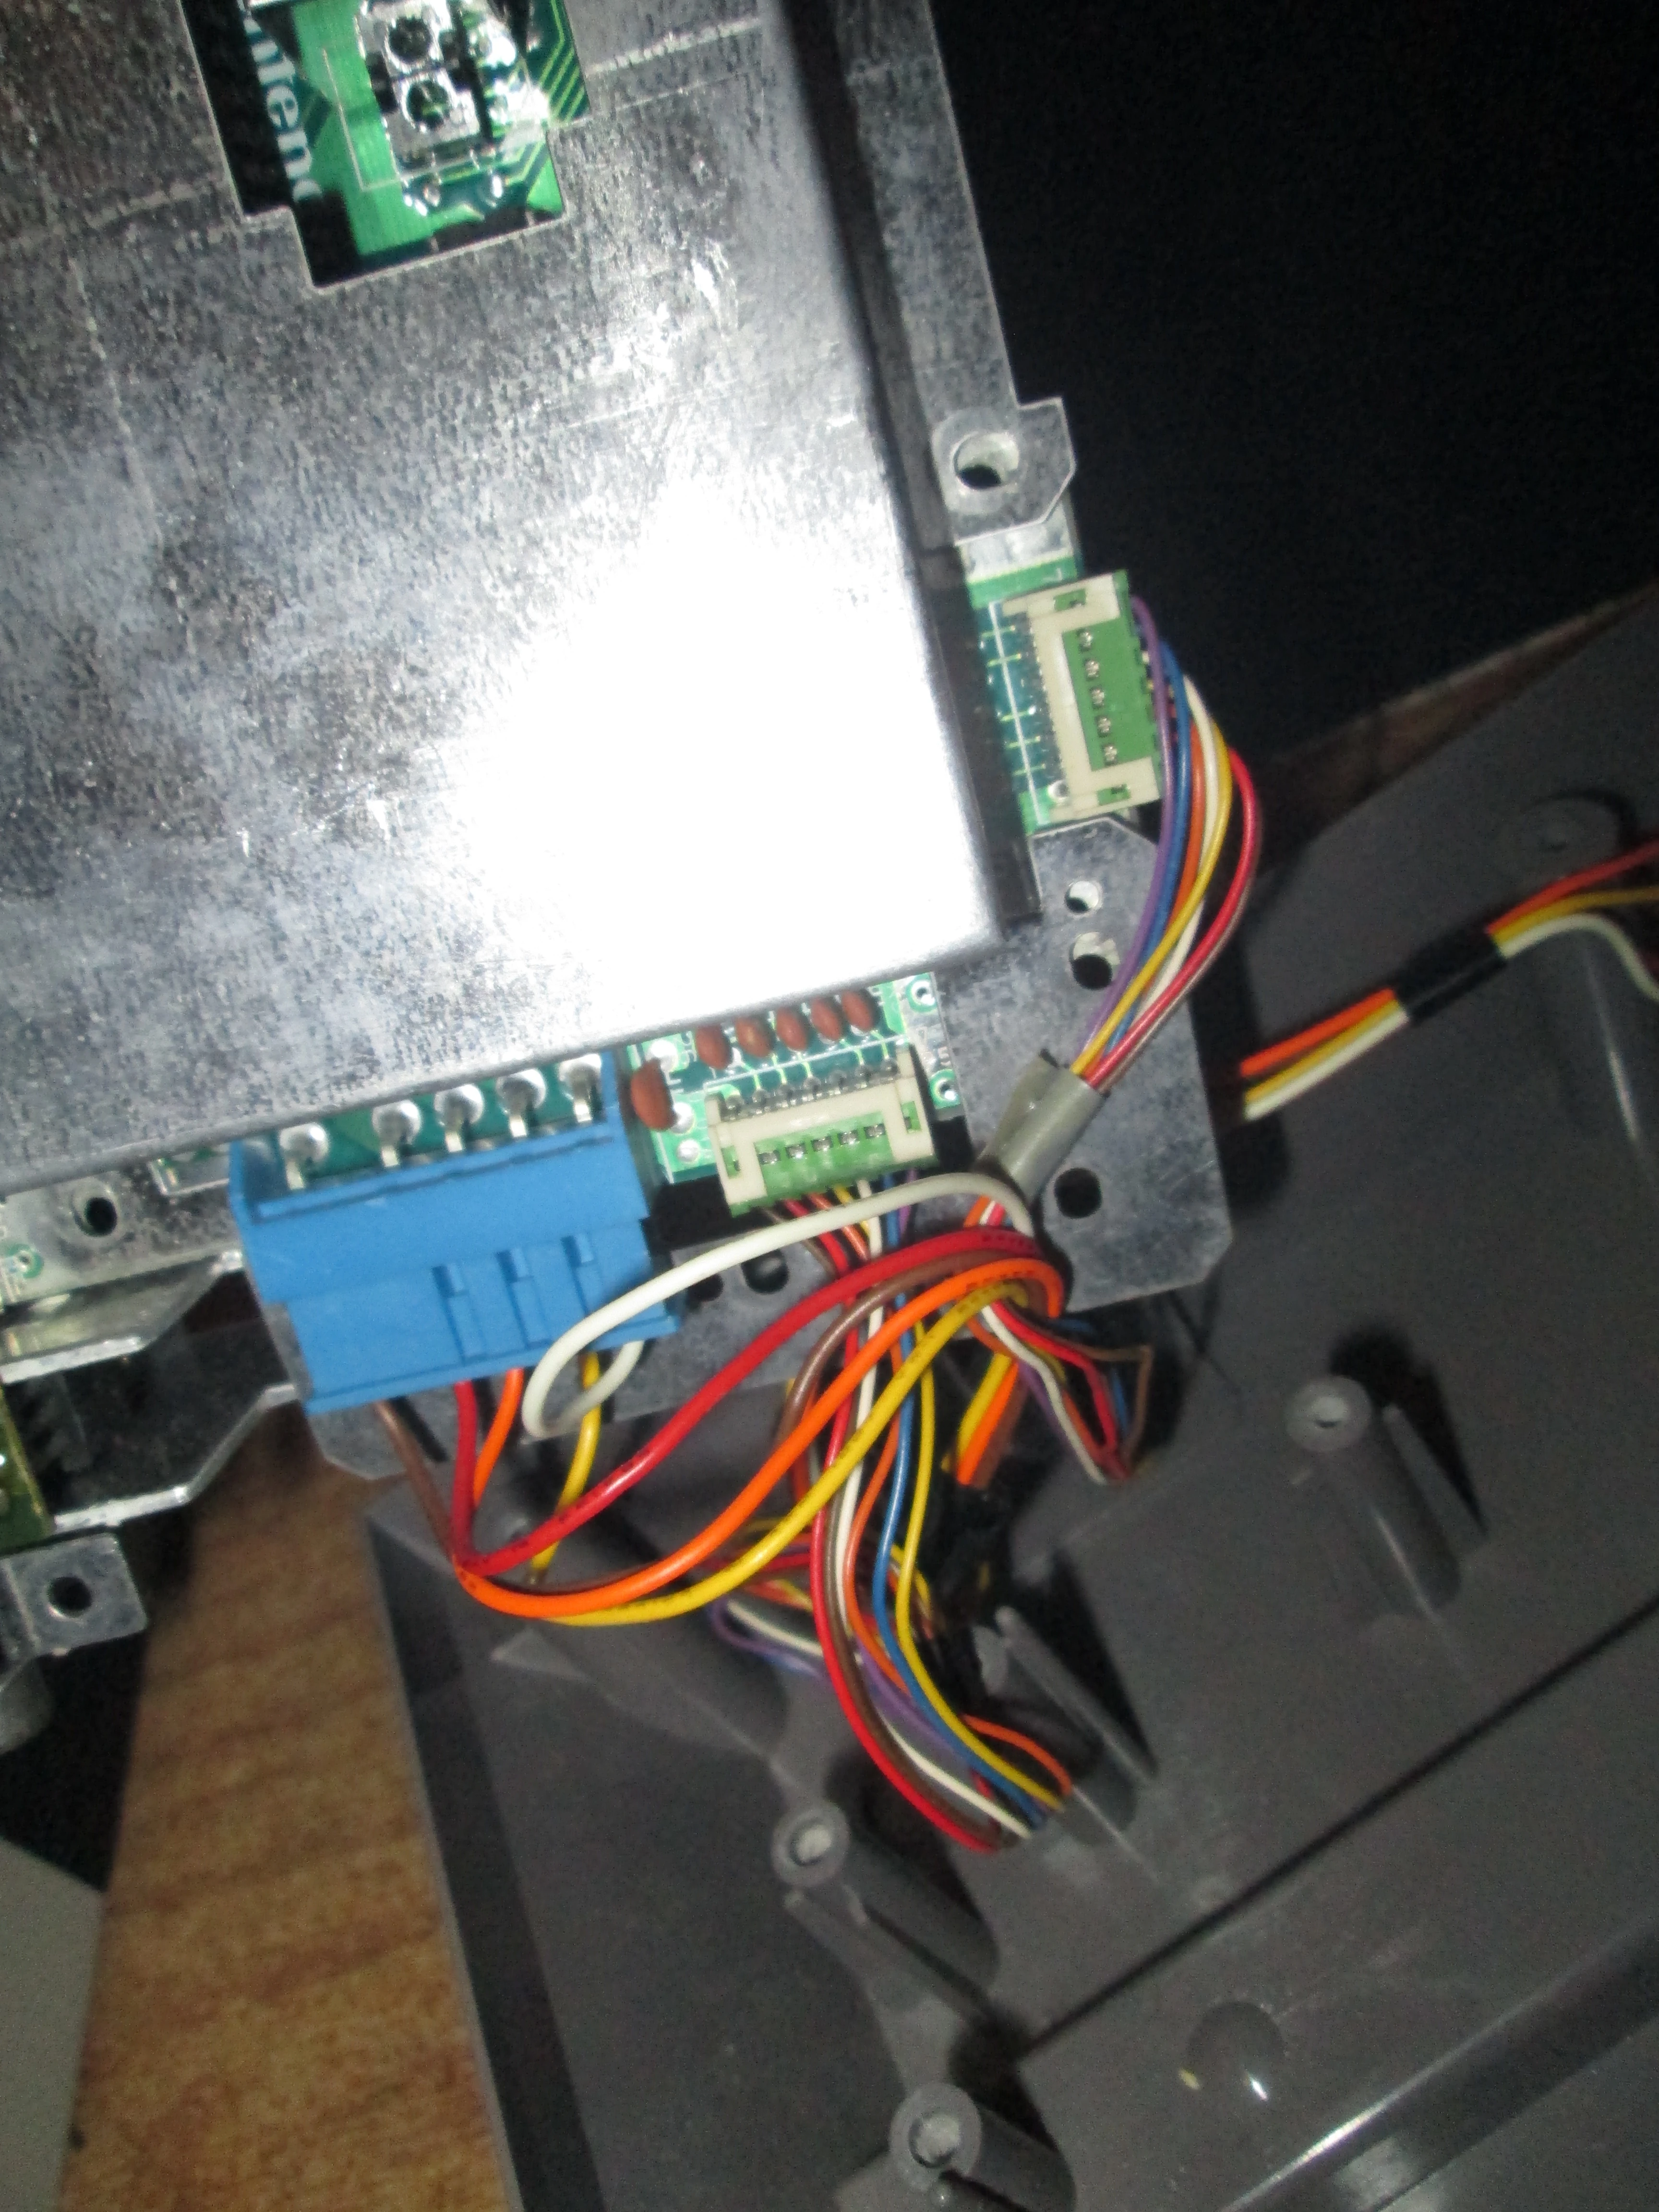
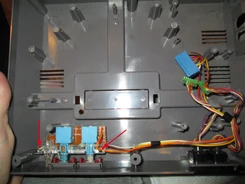
The three ports
You will see that all of these wires plug into 3 ports on the board. Be fore we go any further these need to be unplugged. The blue port which is for the power and reset button is pretty easy to unplug, but the two green ports can be difficult. I was able to use my nail to unplug them, but if you cannot used the metal prying device I said you might need to wiggle the two green plugs out. Take note that the one that plugs into the front of the board is player one and the one in the side is player two. After these are unplugged you can removed the lower metal shielding.

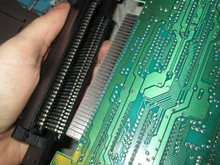
72 pin connector removal
You will also need to remove the 72 pin connector. To do this you just need to pull on the connector carefully and it should just slide off.
Step 5 - Remove buttons and ports[]

To remove the power and reset buttons you have to unscrew the two #2 Philips head on either side of the two buttons.
For the two controller ports you must first unscrew the two #2 Philips head screws from underneath the console. You should then be able to put the two controller ports straight out of the casing.
Step 6 - Removing the door and black detail pieces[]
We are almost done. There are 6 screws in the top half of the NES. You will need a #3 or 2.5 Flat head screw driver to remove these. Two of them will have metal springs underneath them. These are the screws that hold the door on the NES on. So unscrew every screw here and remove the two black detail pieces and the door. That should be all!
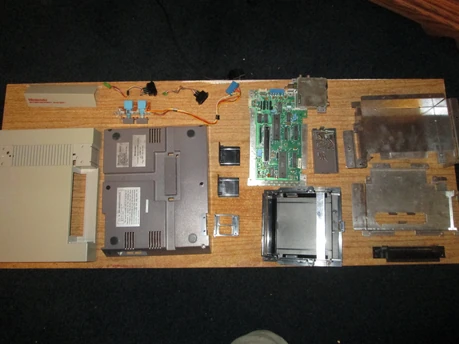
Done and disassembled!!![]

You have done it! Your NES console is now completely disassembled. Was this tear down helpful? Do you feel like it was too much, not enough? Let me know or just edit it yourself!