This is a detailed tear down of the classic grey Nintendo 64. It is in great condition and plays great. This console is a bit more complicated to take apart compared to previous Nintendo consoles, but this guide should make it easy.
Setup[]
Be sure to have the system completely unplugged and make sure you have removed the jumper pak or your expansion pak.
After that set it up on a clean hard surface, I used a plank of wood. Get a couple of Dixie cups or little bowls so you can store the loose screws. I recommend Dixie cups because you can write on them with marker and label where each screw cam from.
Tools:[]
- 4.2mm Gamebit Screw driver, which are used on many Nintendo products.
- #1 Philips head Screw driver
- #0 Philips head Screw Driver
- possible a metal prying device if you can't get something off with your fingers.
Step 1 - Remove the bottom screws and feet[]
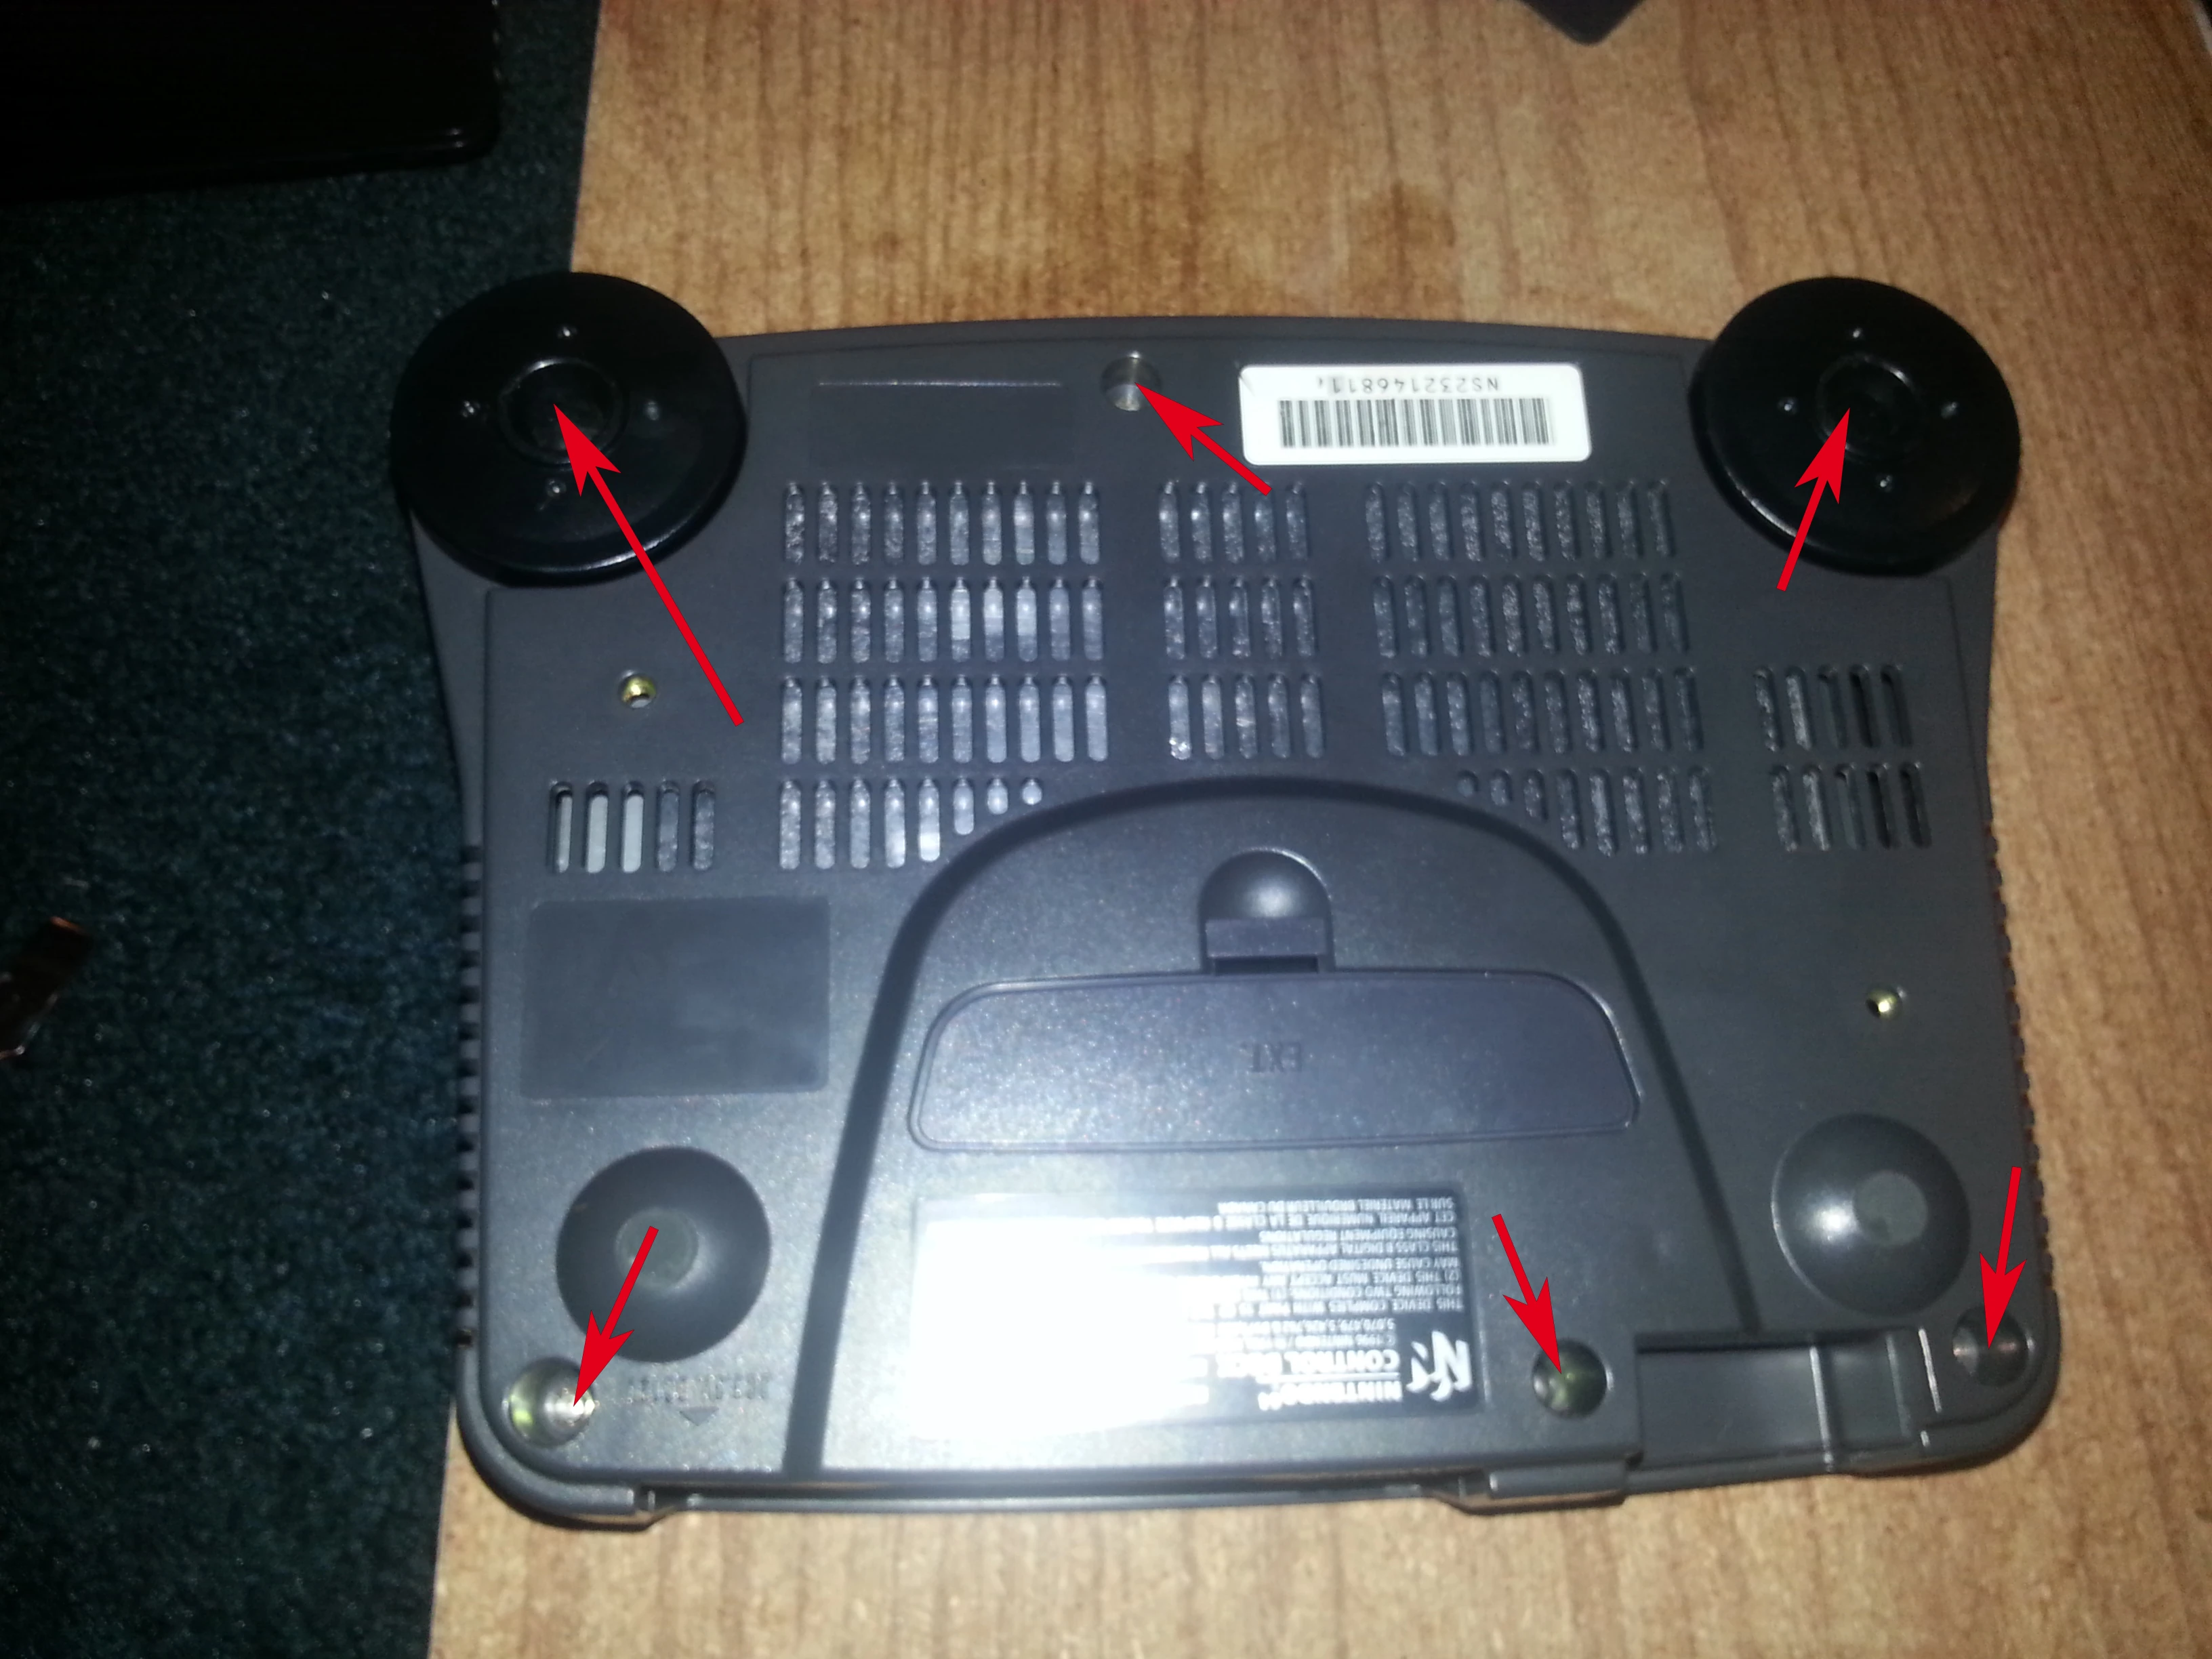
Bottom seven screws.
Flip your console over and use your 4.2mm Gamebit screw driver to unscrew all six screws on the bottom of the console. Once all six are unscrewed pull the two black feet off and set them to the side.
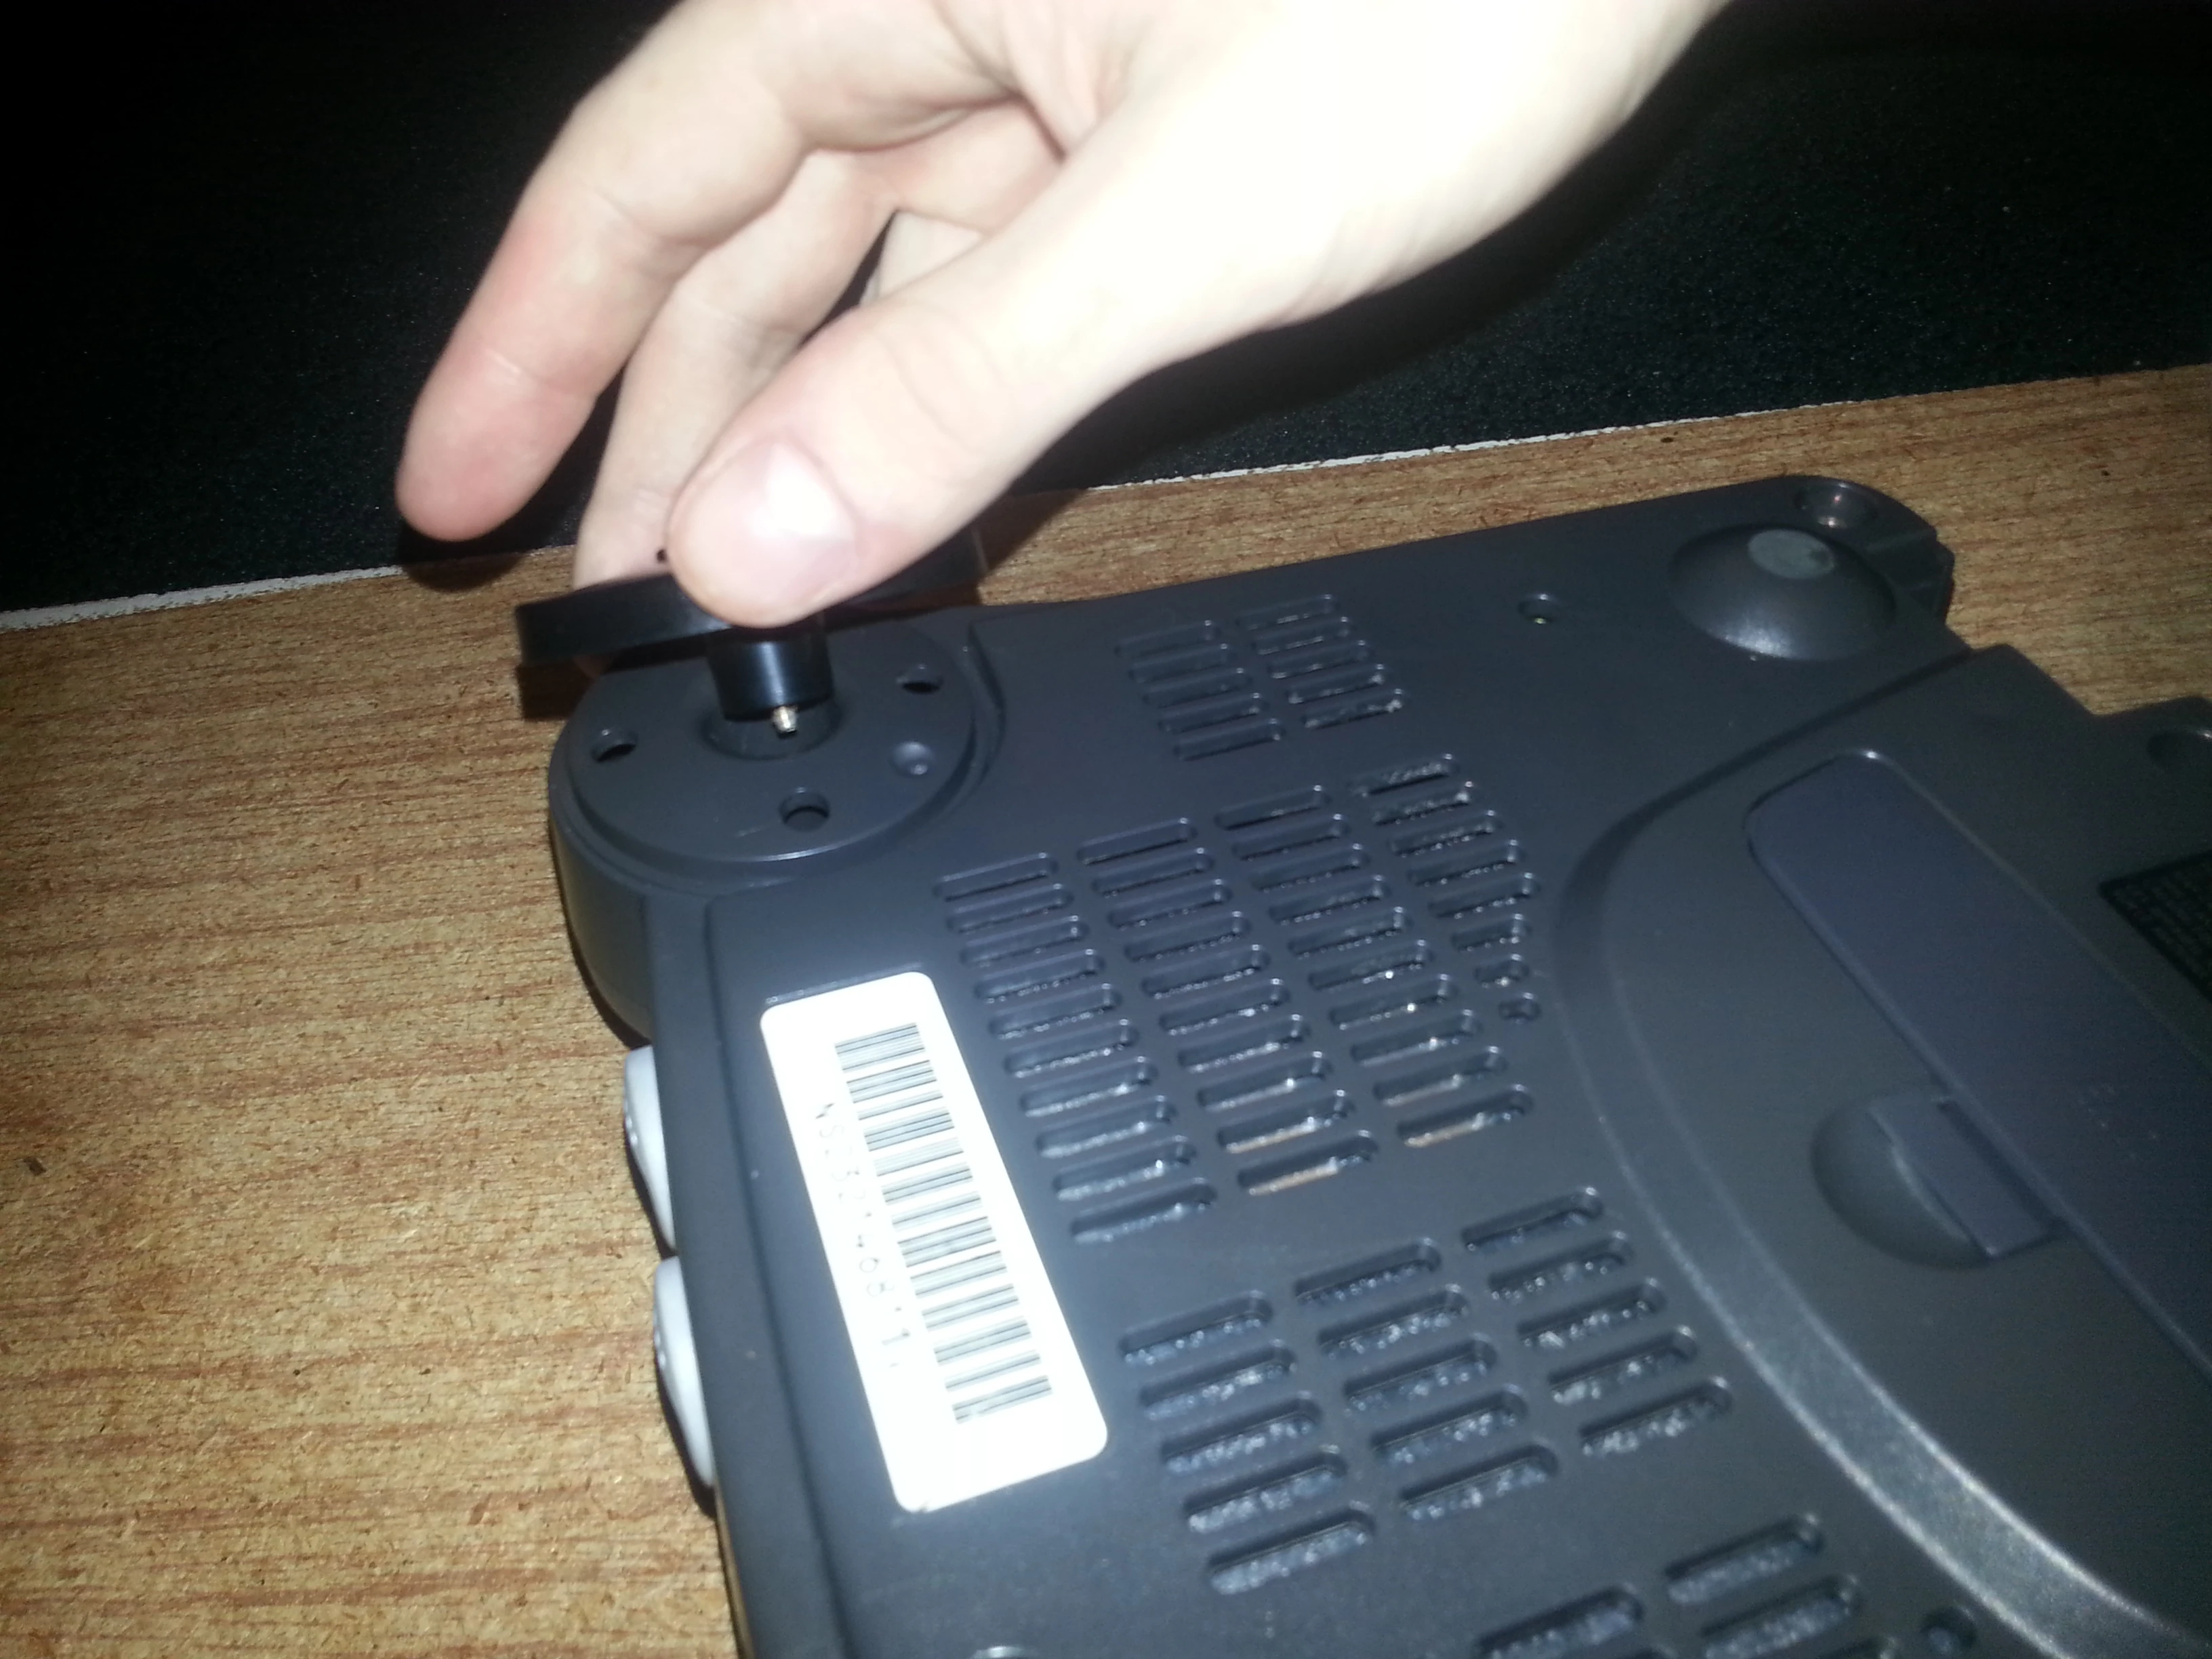
Removing feet
Flip the console back over and lift the top half of the plastic casing straight off.
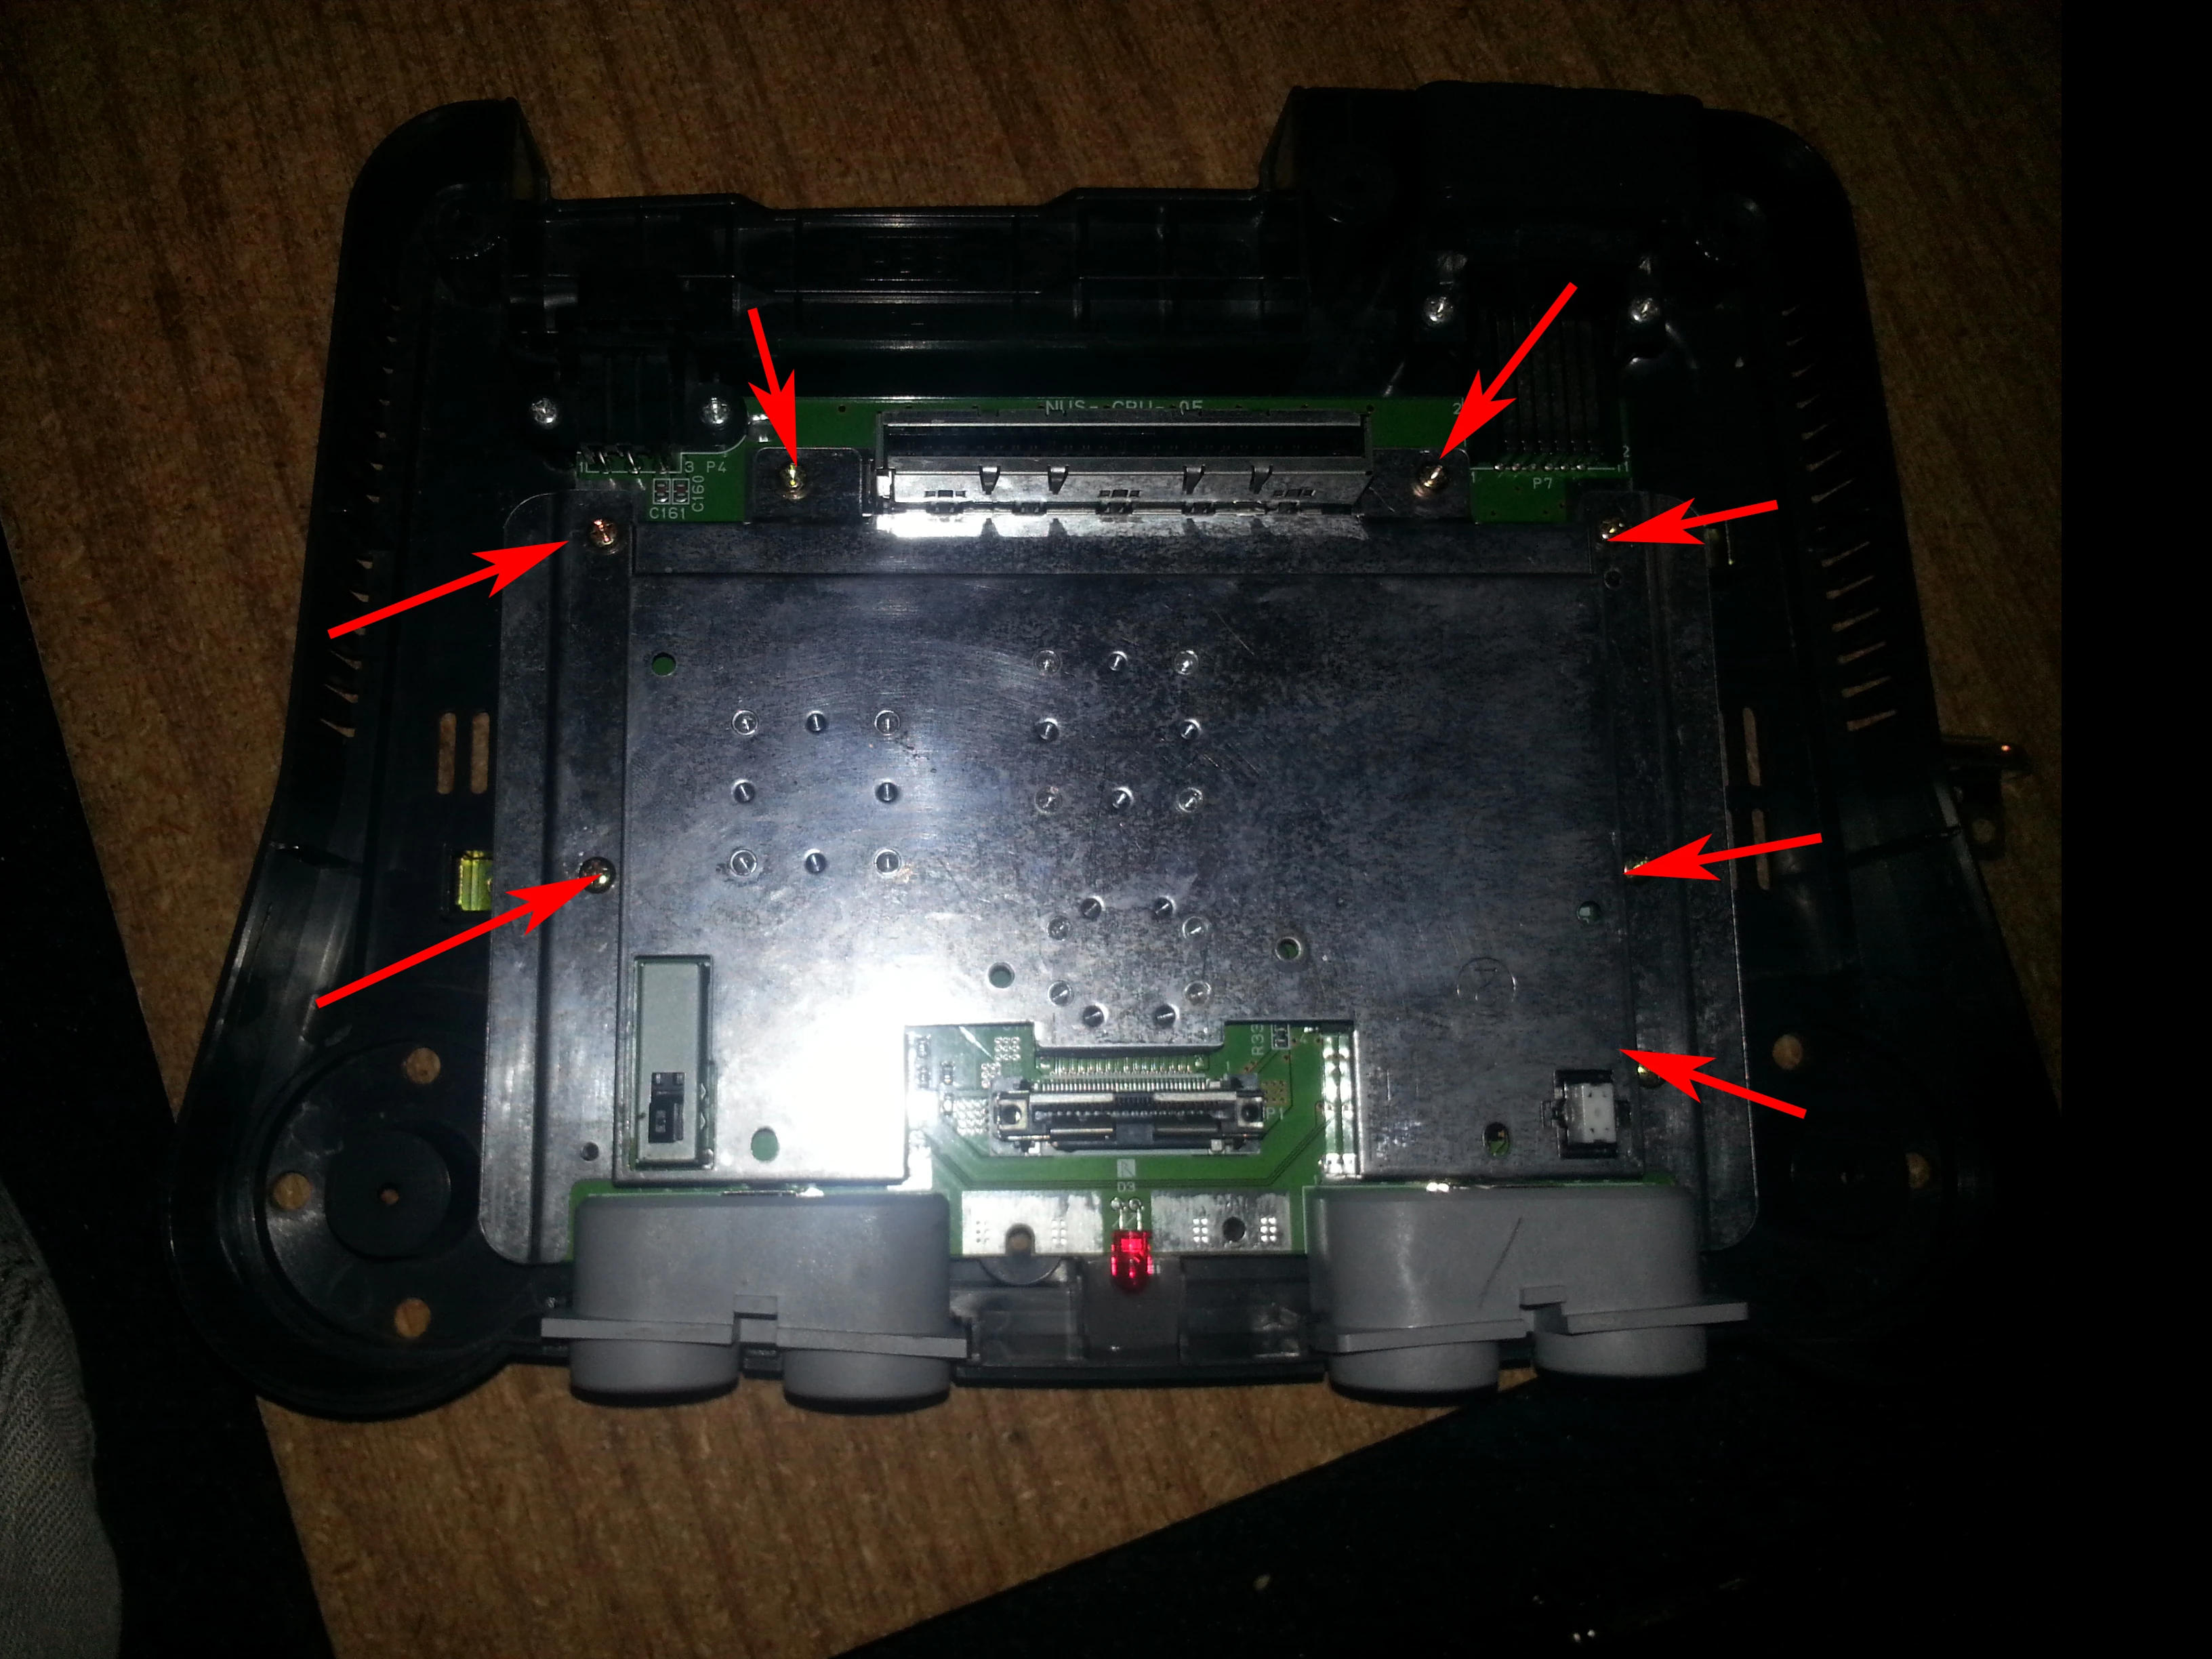
Step 2 - Removing the metal plate[]


14 Screws
You will notice that the inside of the Nintendo 64 console it looks very weird. There is a lot of metal, one being the entire width of the console. Many of the screws will also seem very random. To start removing parts of the console we need to remove the top fourteen screws on the highest level. Some of these screws are different colors and different lengths so be sure to have your Dixie cups labeled so you can separate the screws so you know where they go when it is reassembled.
All fourteen screws you remove are #1 Philips head screws. Once they are all removed you can removed the giant metal plate. Slide the plate forward so it is no longer underneath other metal parts and take it completely out.
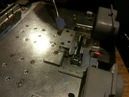
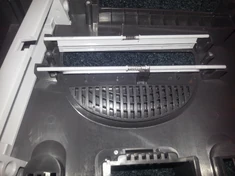
Step 3 - Removing expansion slot parts[]

Expansion slot screws


The expansion slot a a few metal pieces attached to it. There are three Philips head screws, two #0 Philips head, and one #1 Philips head.
Unscrew all three screws and start by pulling up the back metal piece on the expansion slot. If you cannot grab it with your fingers use your metal prying device.
The second metal piece is in front of the expansion slot. You will see it is wrapped around the slot. Pop it upwards and pull it out.
Finally the last metal piece is around the whole slot, pull upwards on it with the prying device and pop it out.
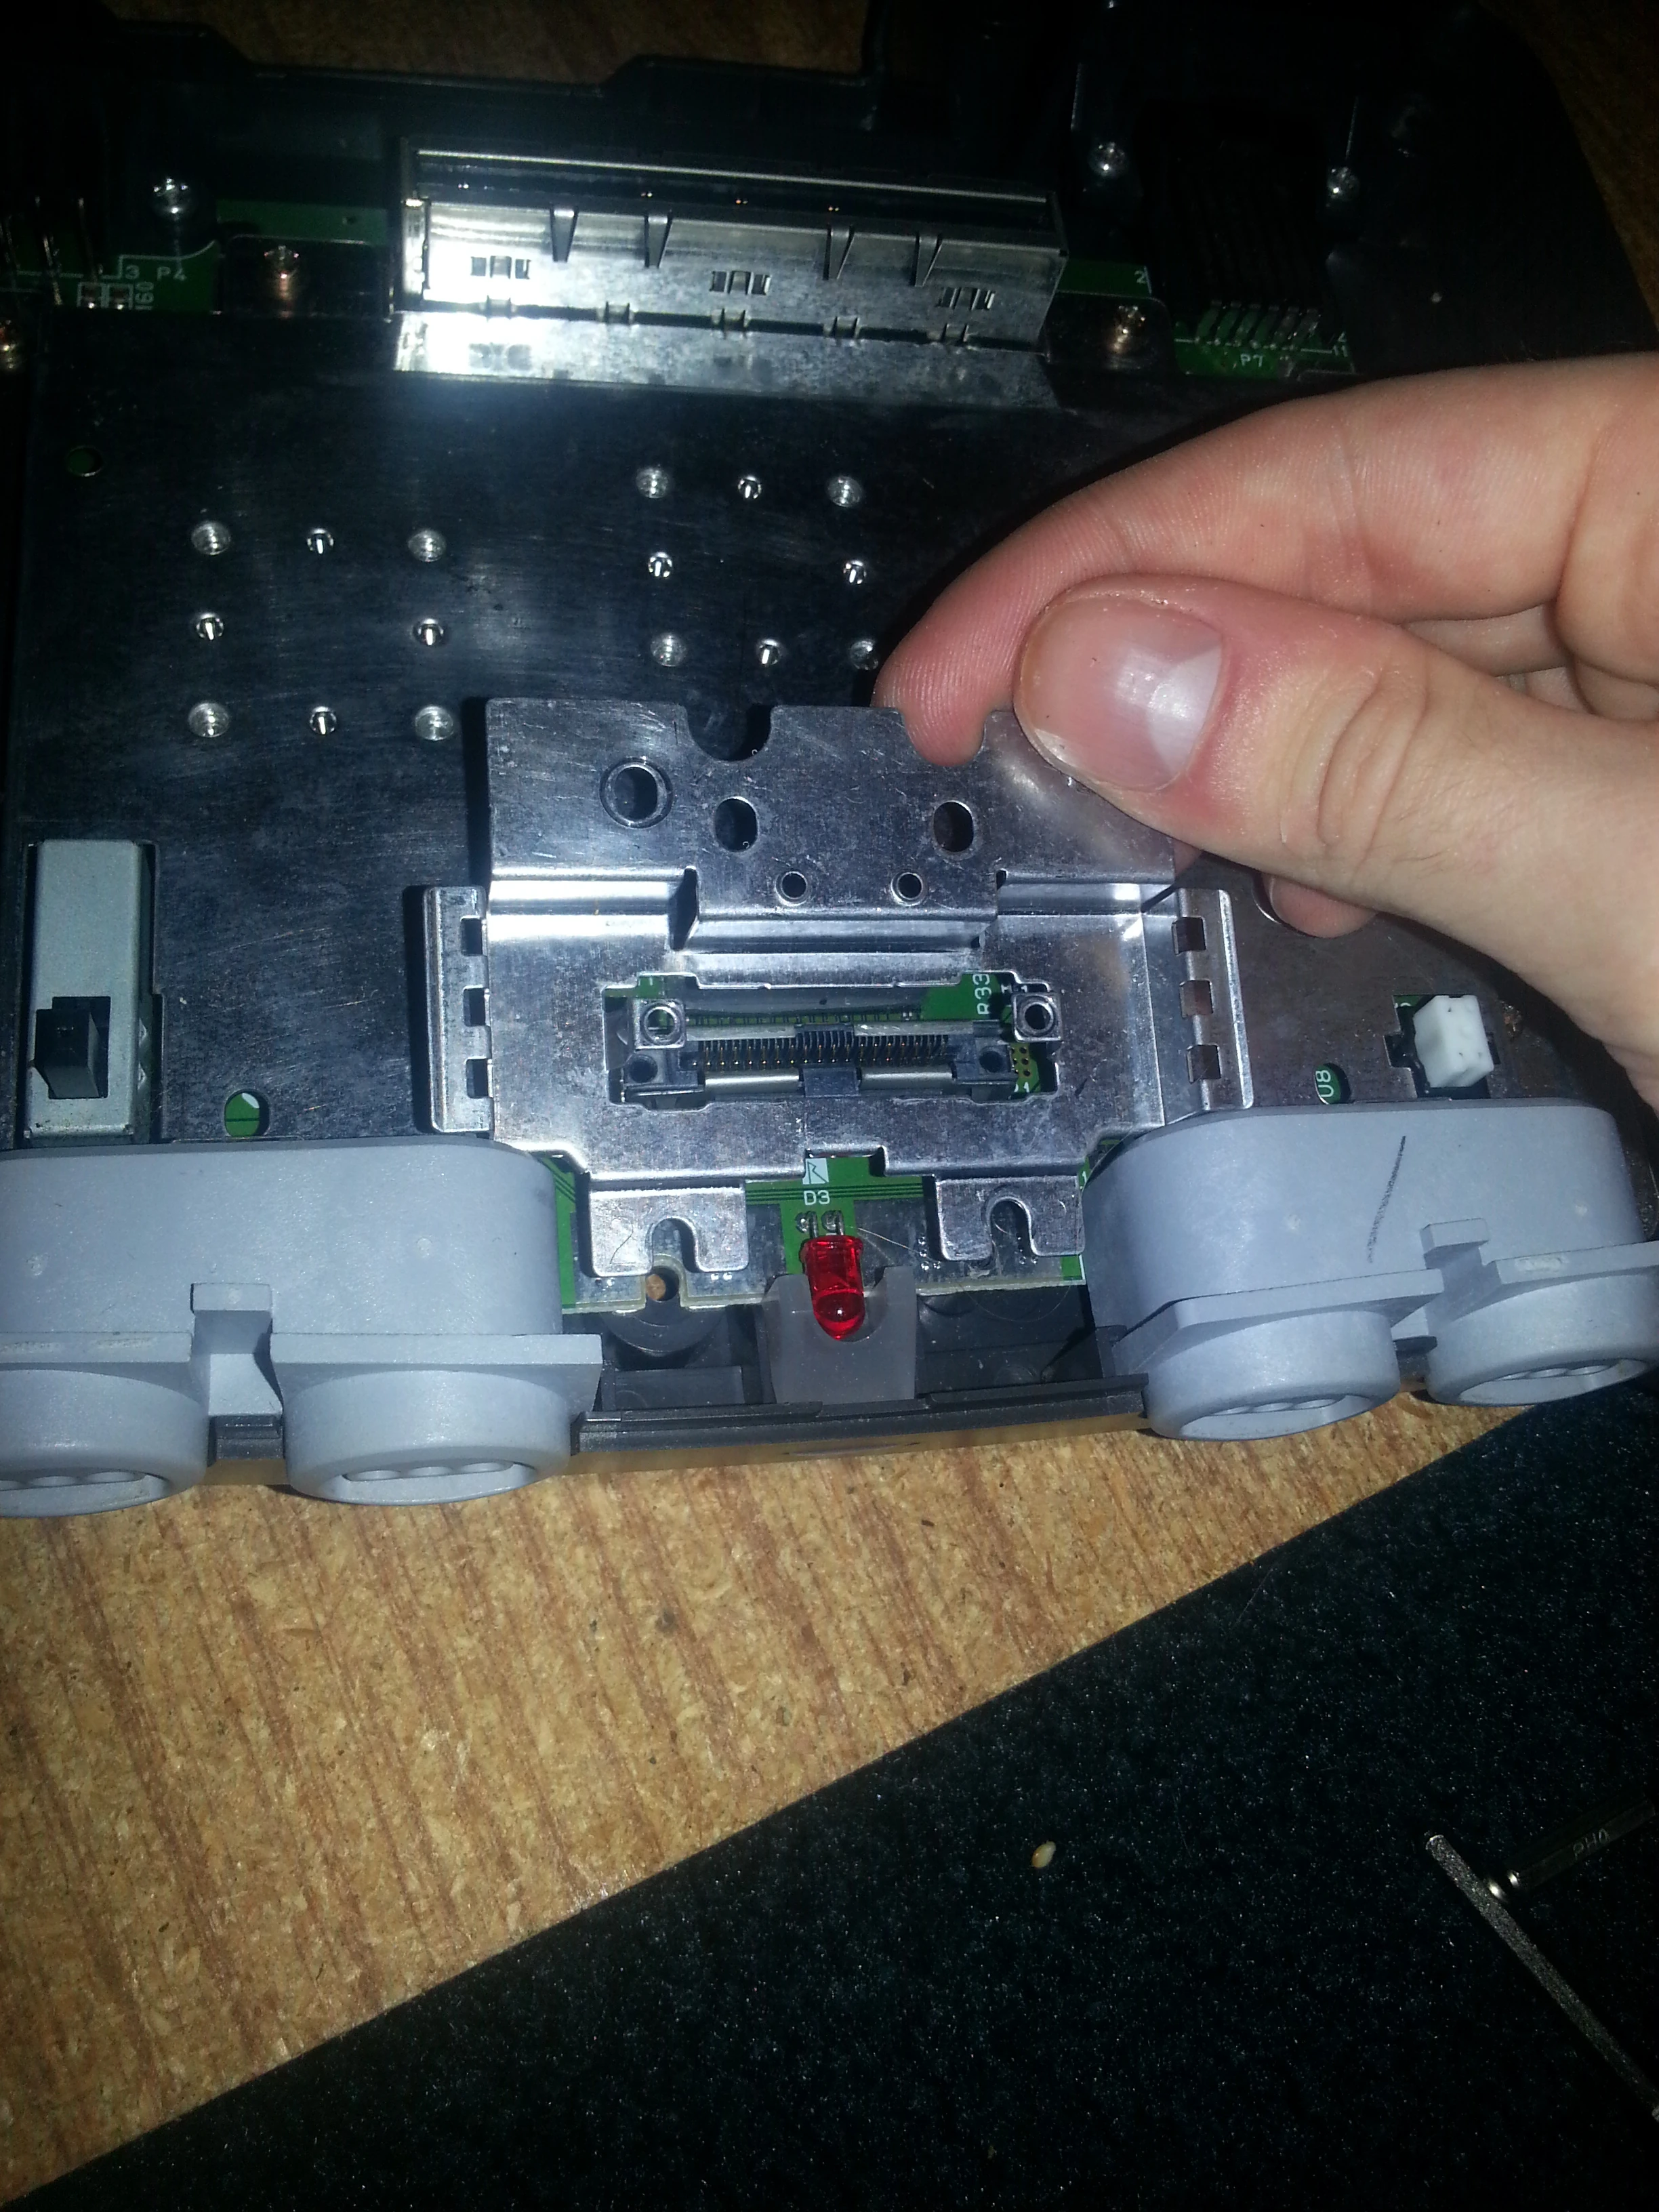
Step 4 - Removing the last of the metal shielding[]

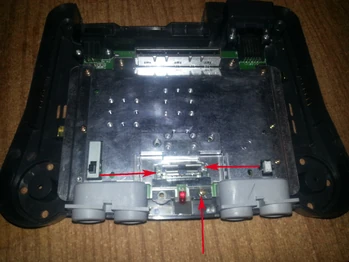
Now we have to remove the last of the metal shielding so to do this you have to unscrew the seven #1 Philips head Screws. The two screws next to the cartridge slot are longer than the others so take this into account. After they are all unscrewed pull upwards on the shielding.This will now show you the exposed System board. You should also see three blocks of metal. These are used to dissipate head from the chips, if you would like to remove them just pull up on them and they should come off.
Step 5 - Removing the system board[]


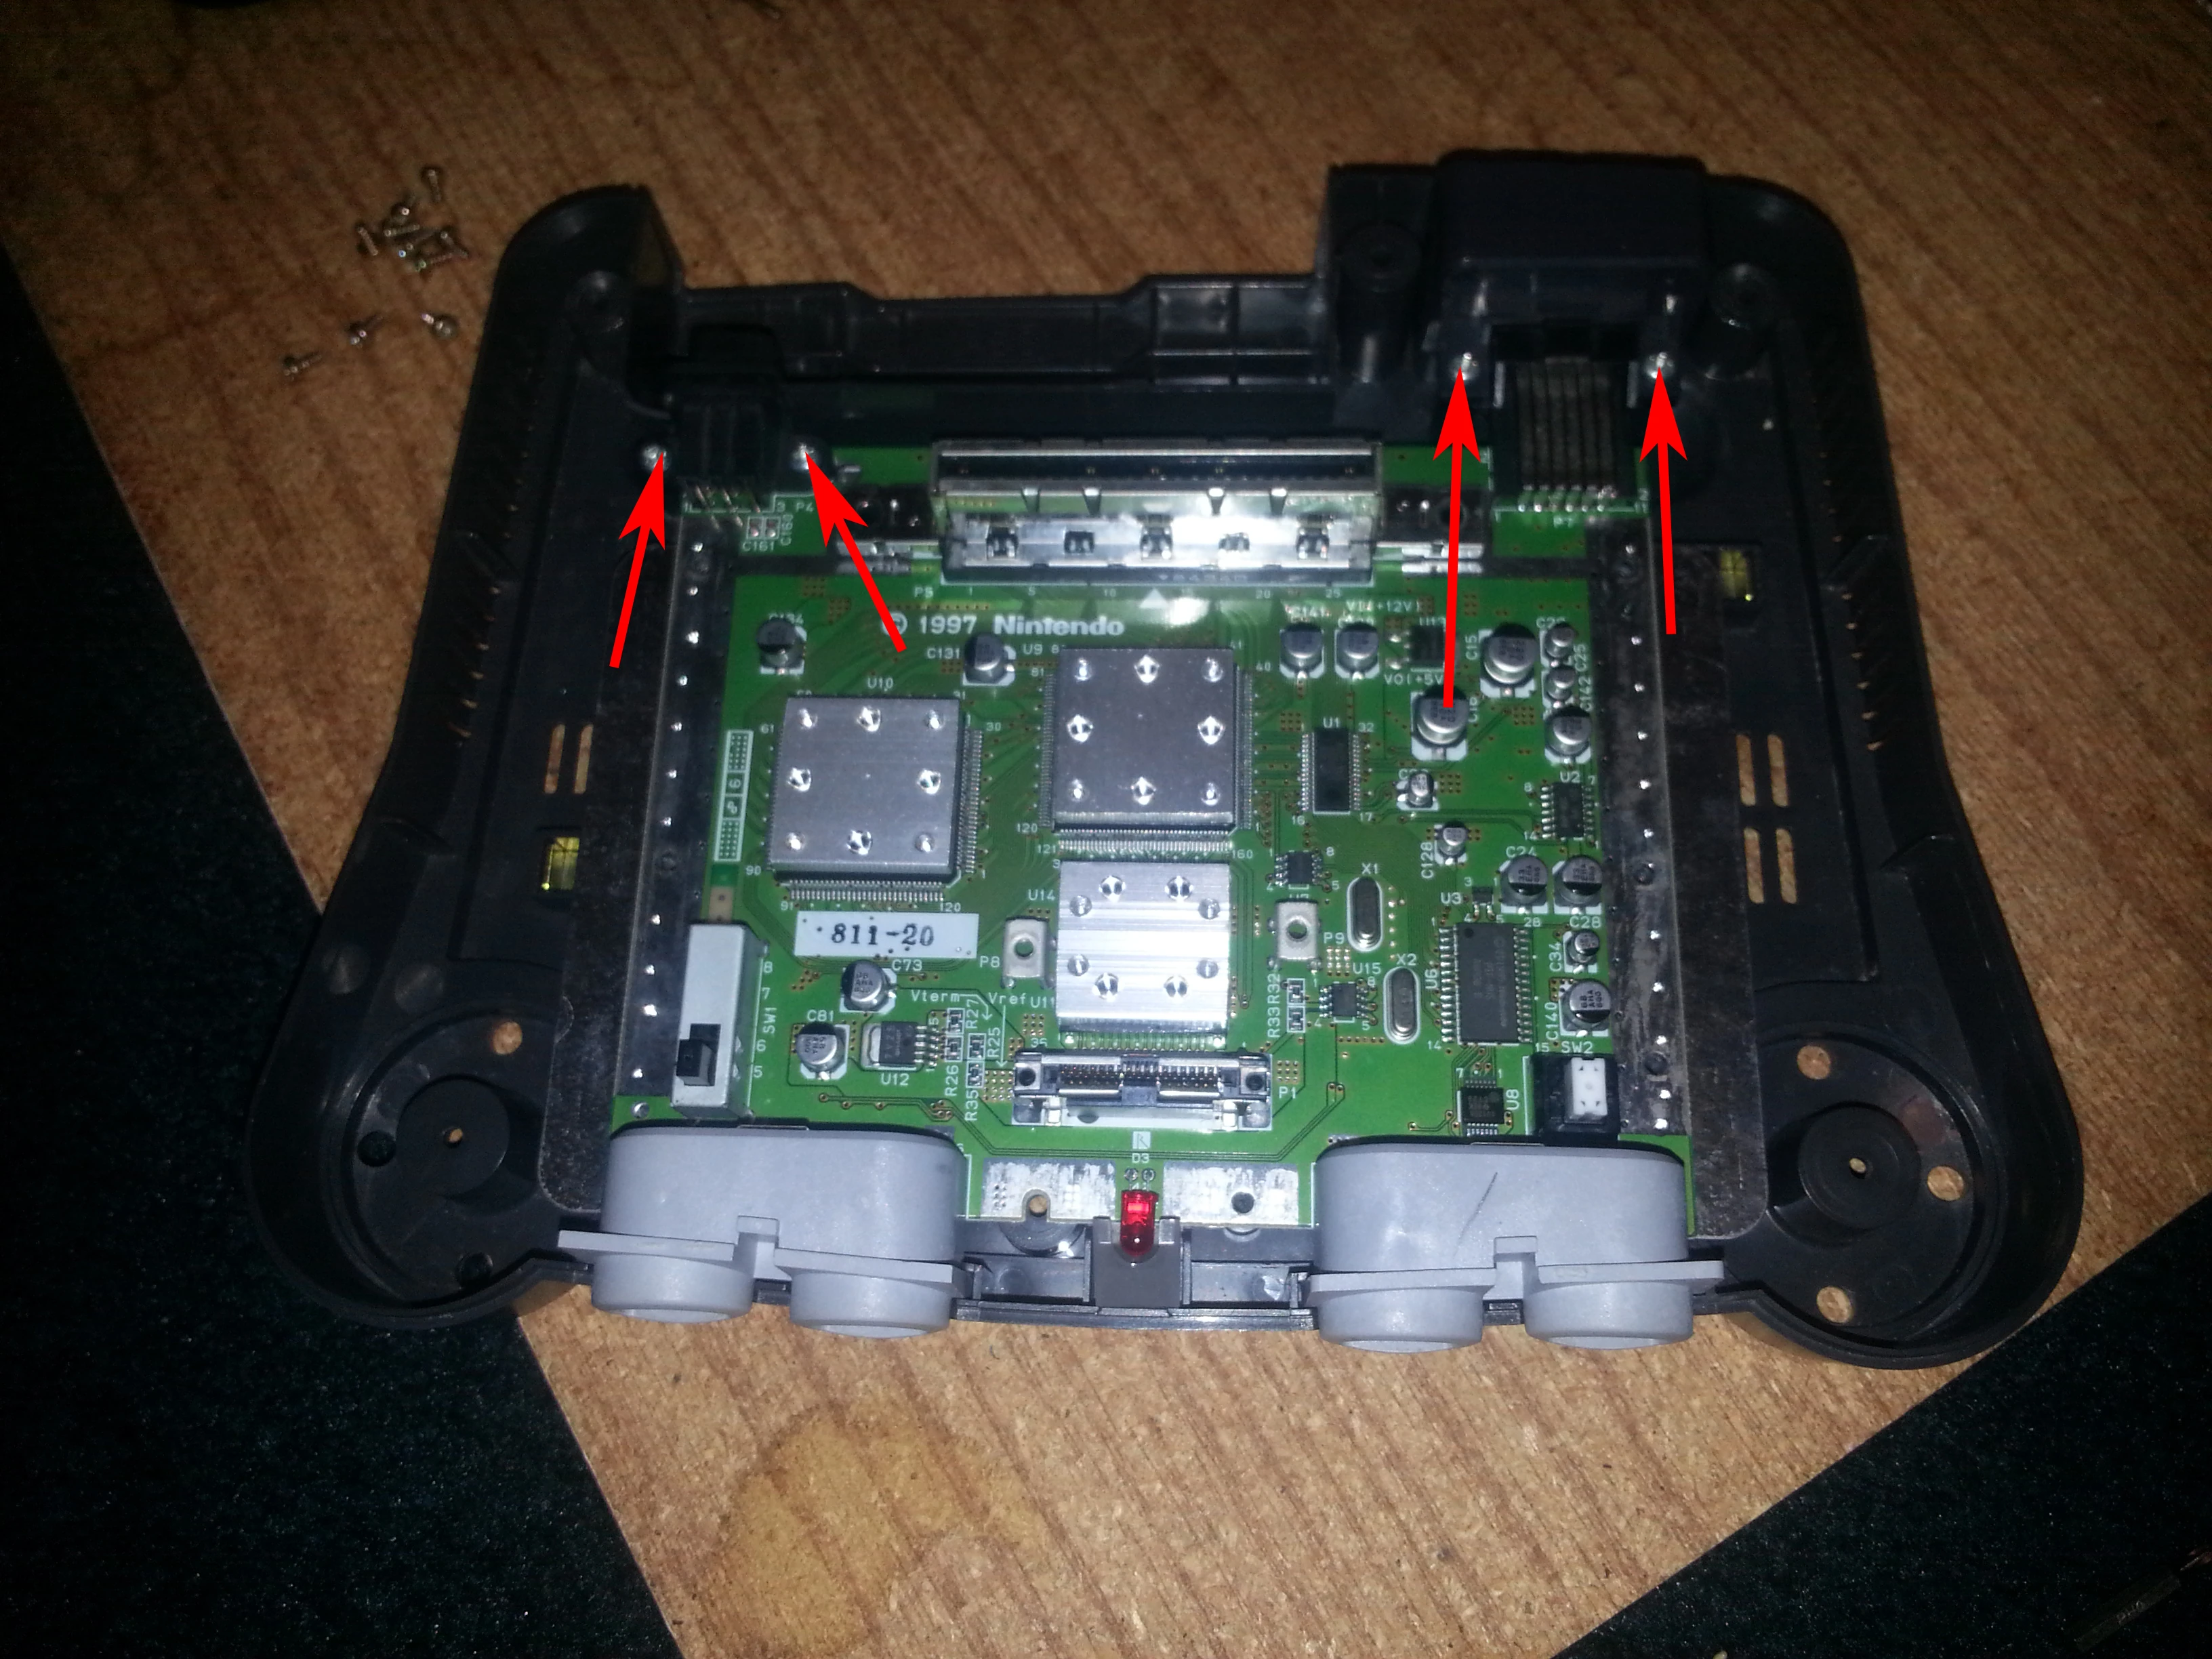
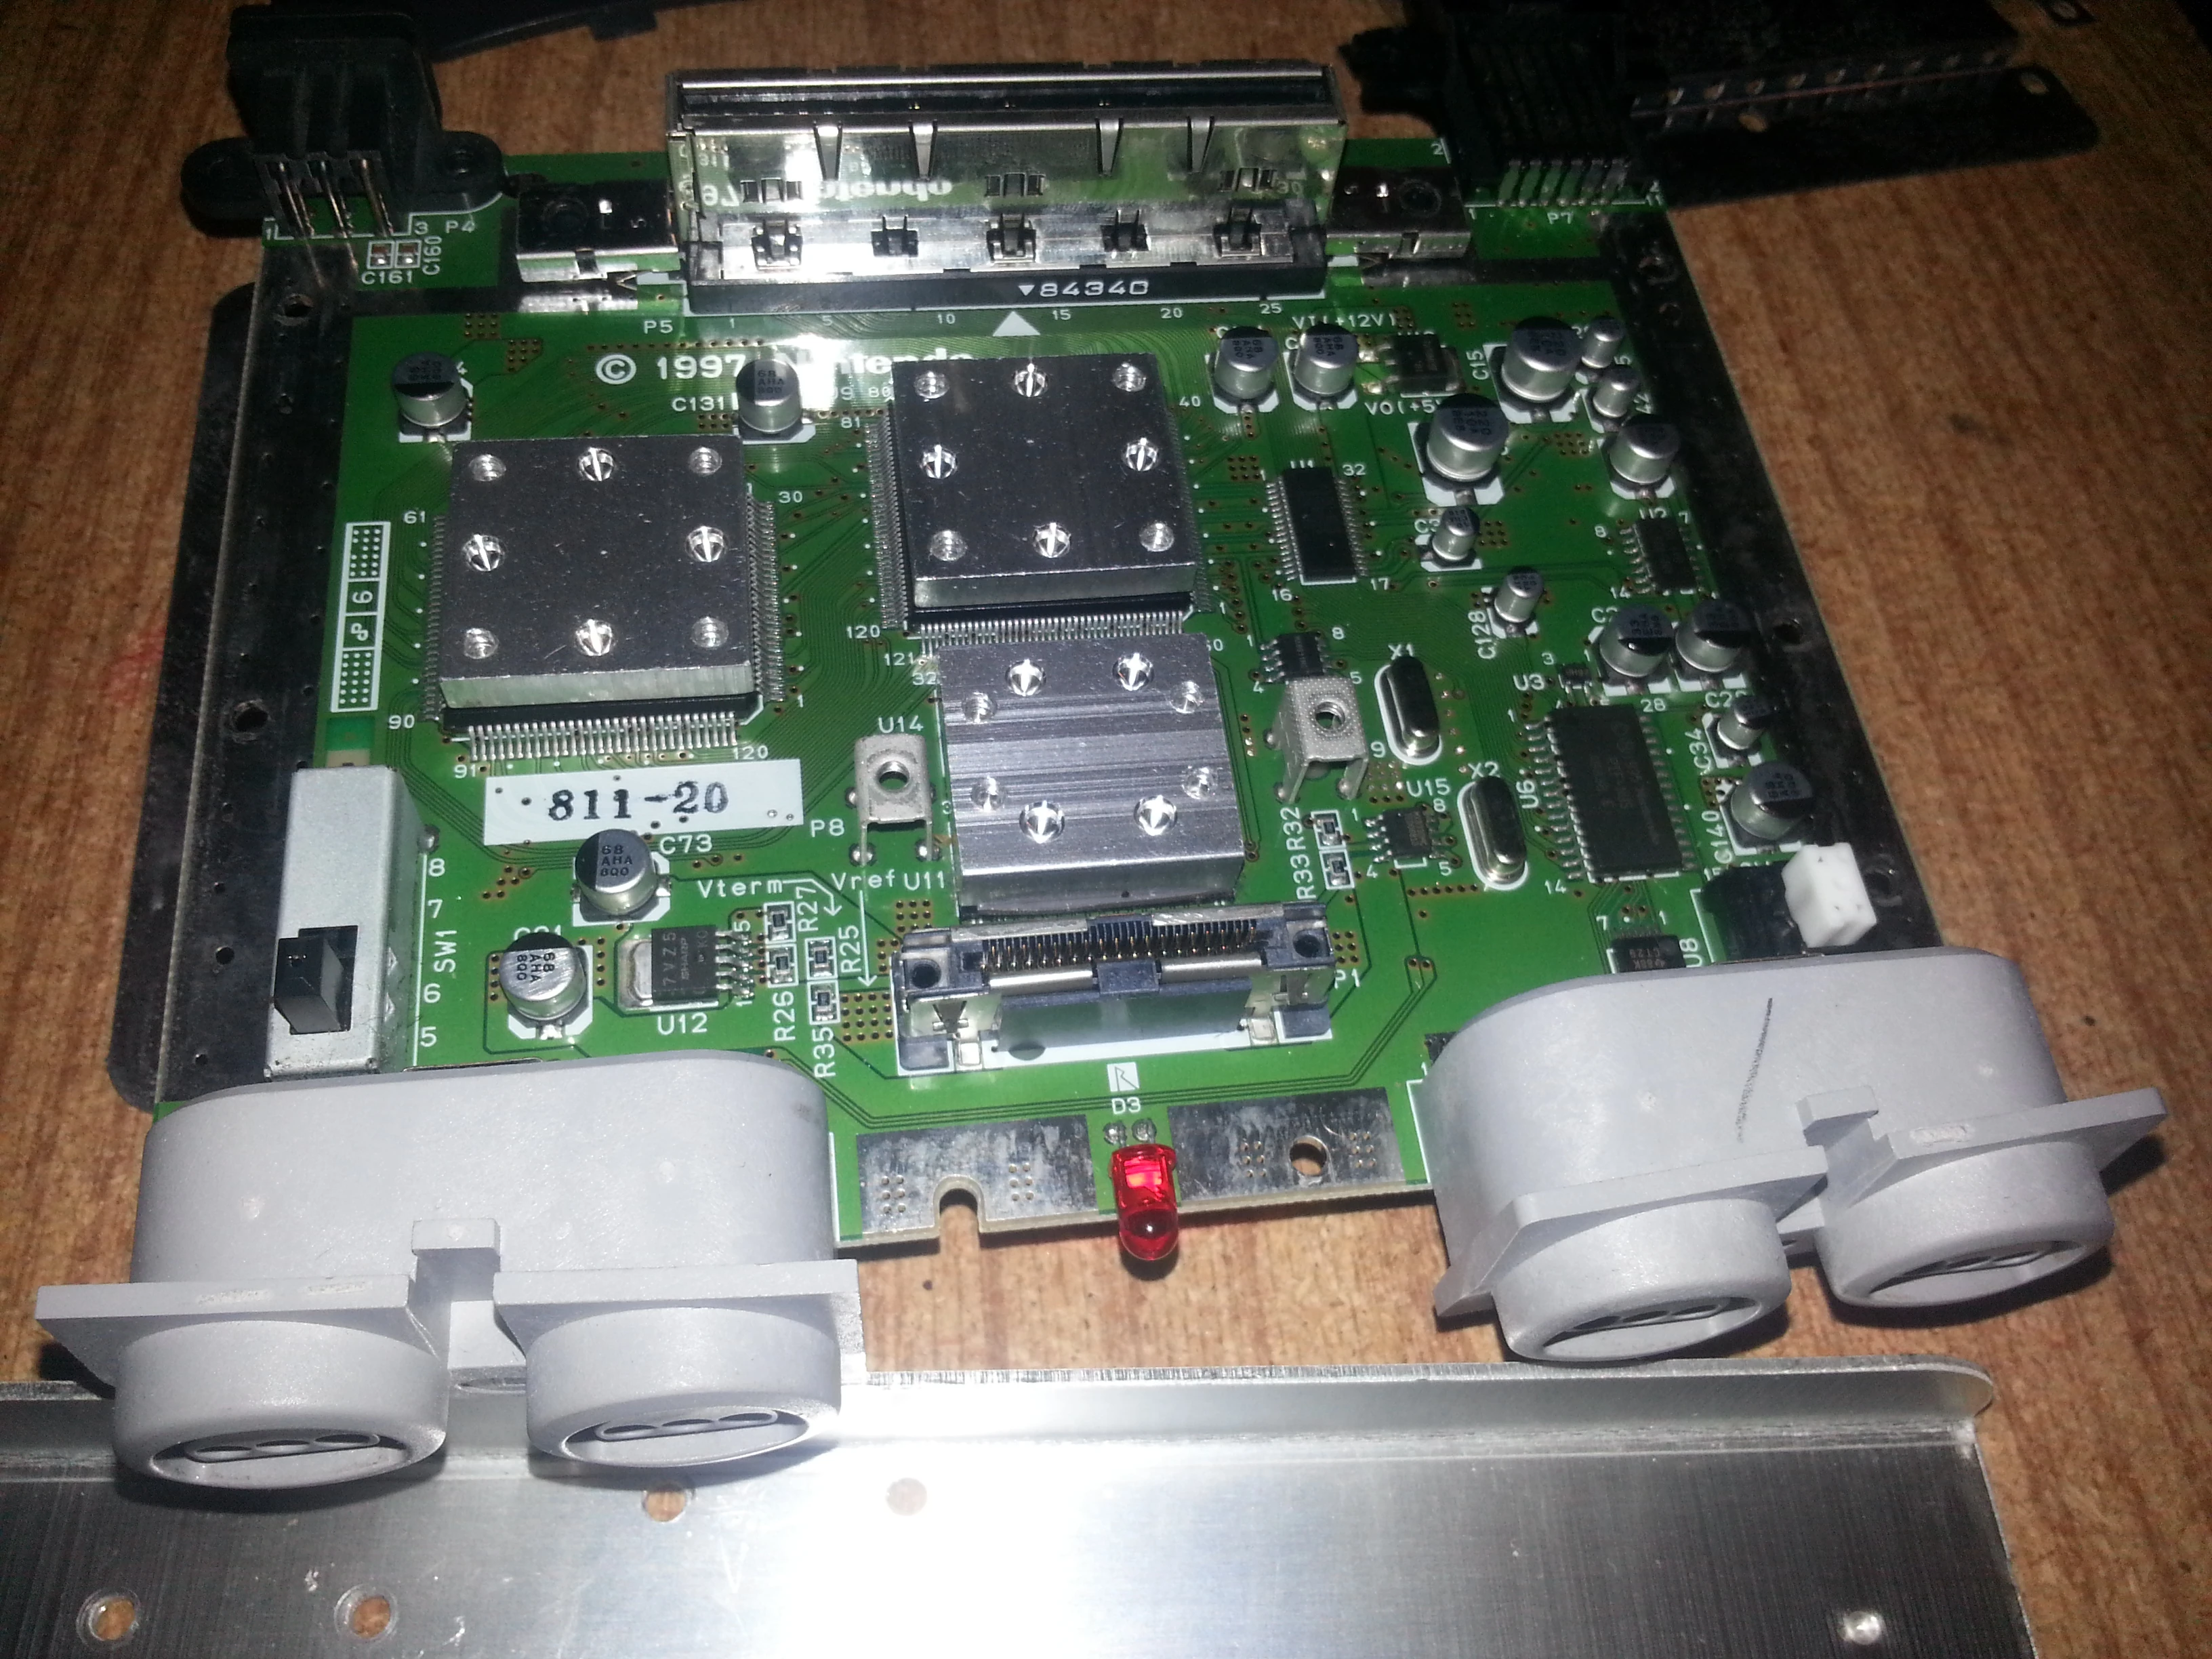
All ports on the Nintendo 64 are soldered right to the board so there are no wires to unplug. There are 4 silver screws on the video and power ports, unscrew these with a #1 Philips head screw driver and lift straight up. A plastic casing around the video cable should pop off as you lift up. You will also notice two metal fasteners and a white plastic piece on the bottom of the case, all of these pull right out as well. Finally flip the board over and remove the shielding from the bottom of the system board. Now both the top and bottom halves of the console are removed from the system.
Step 6 - Removing the Cartridge slot guard[]

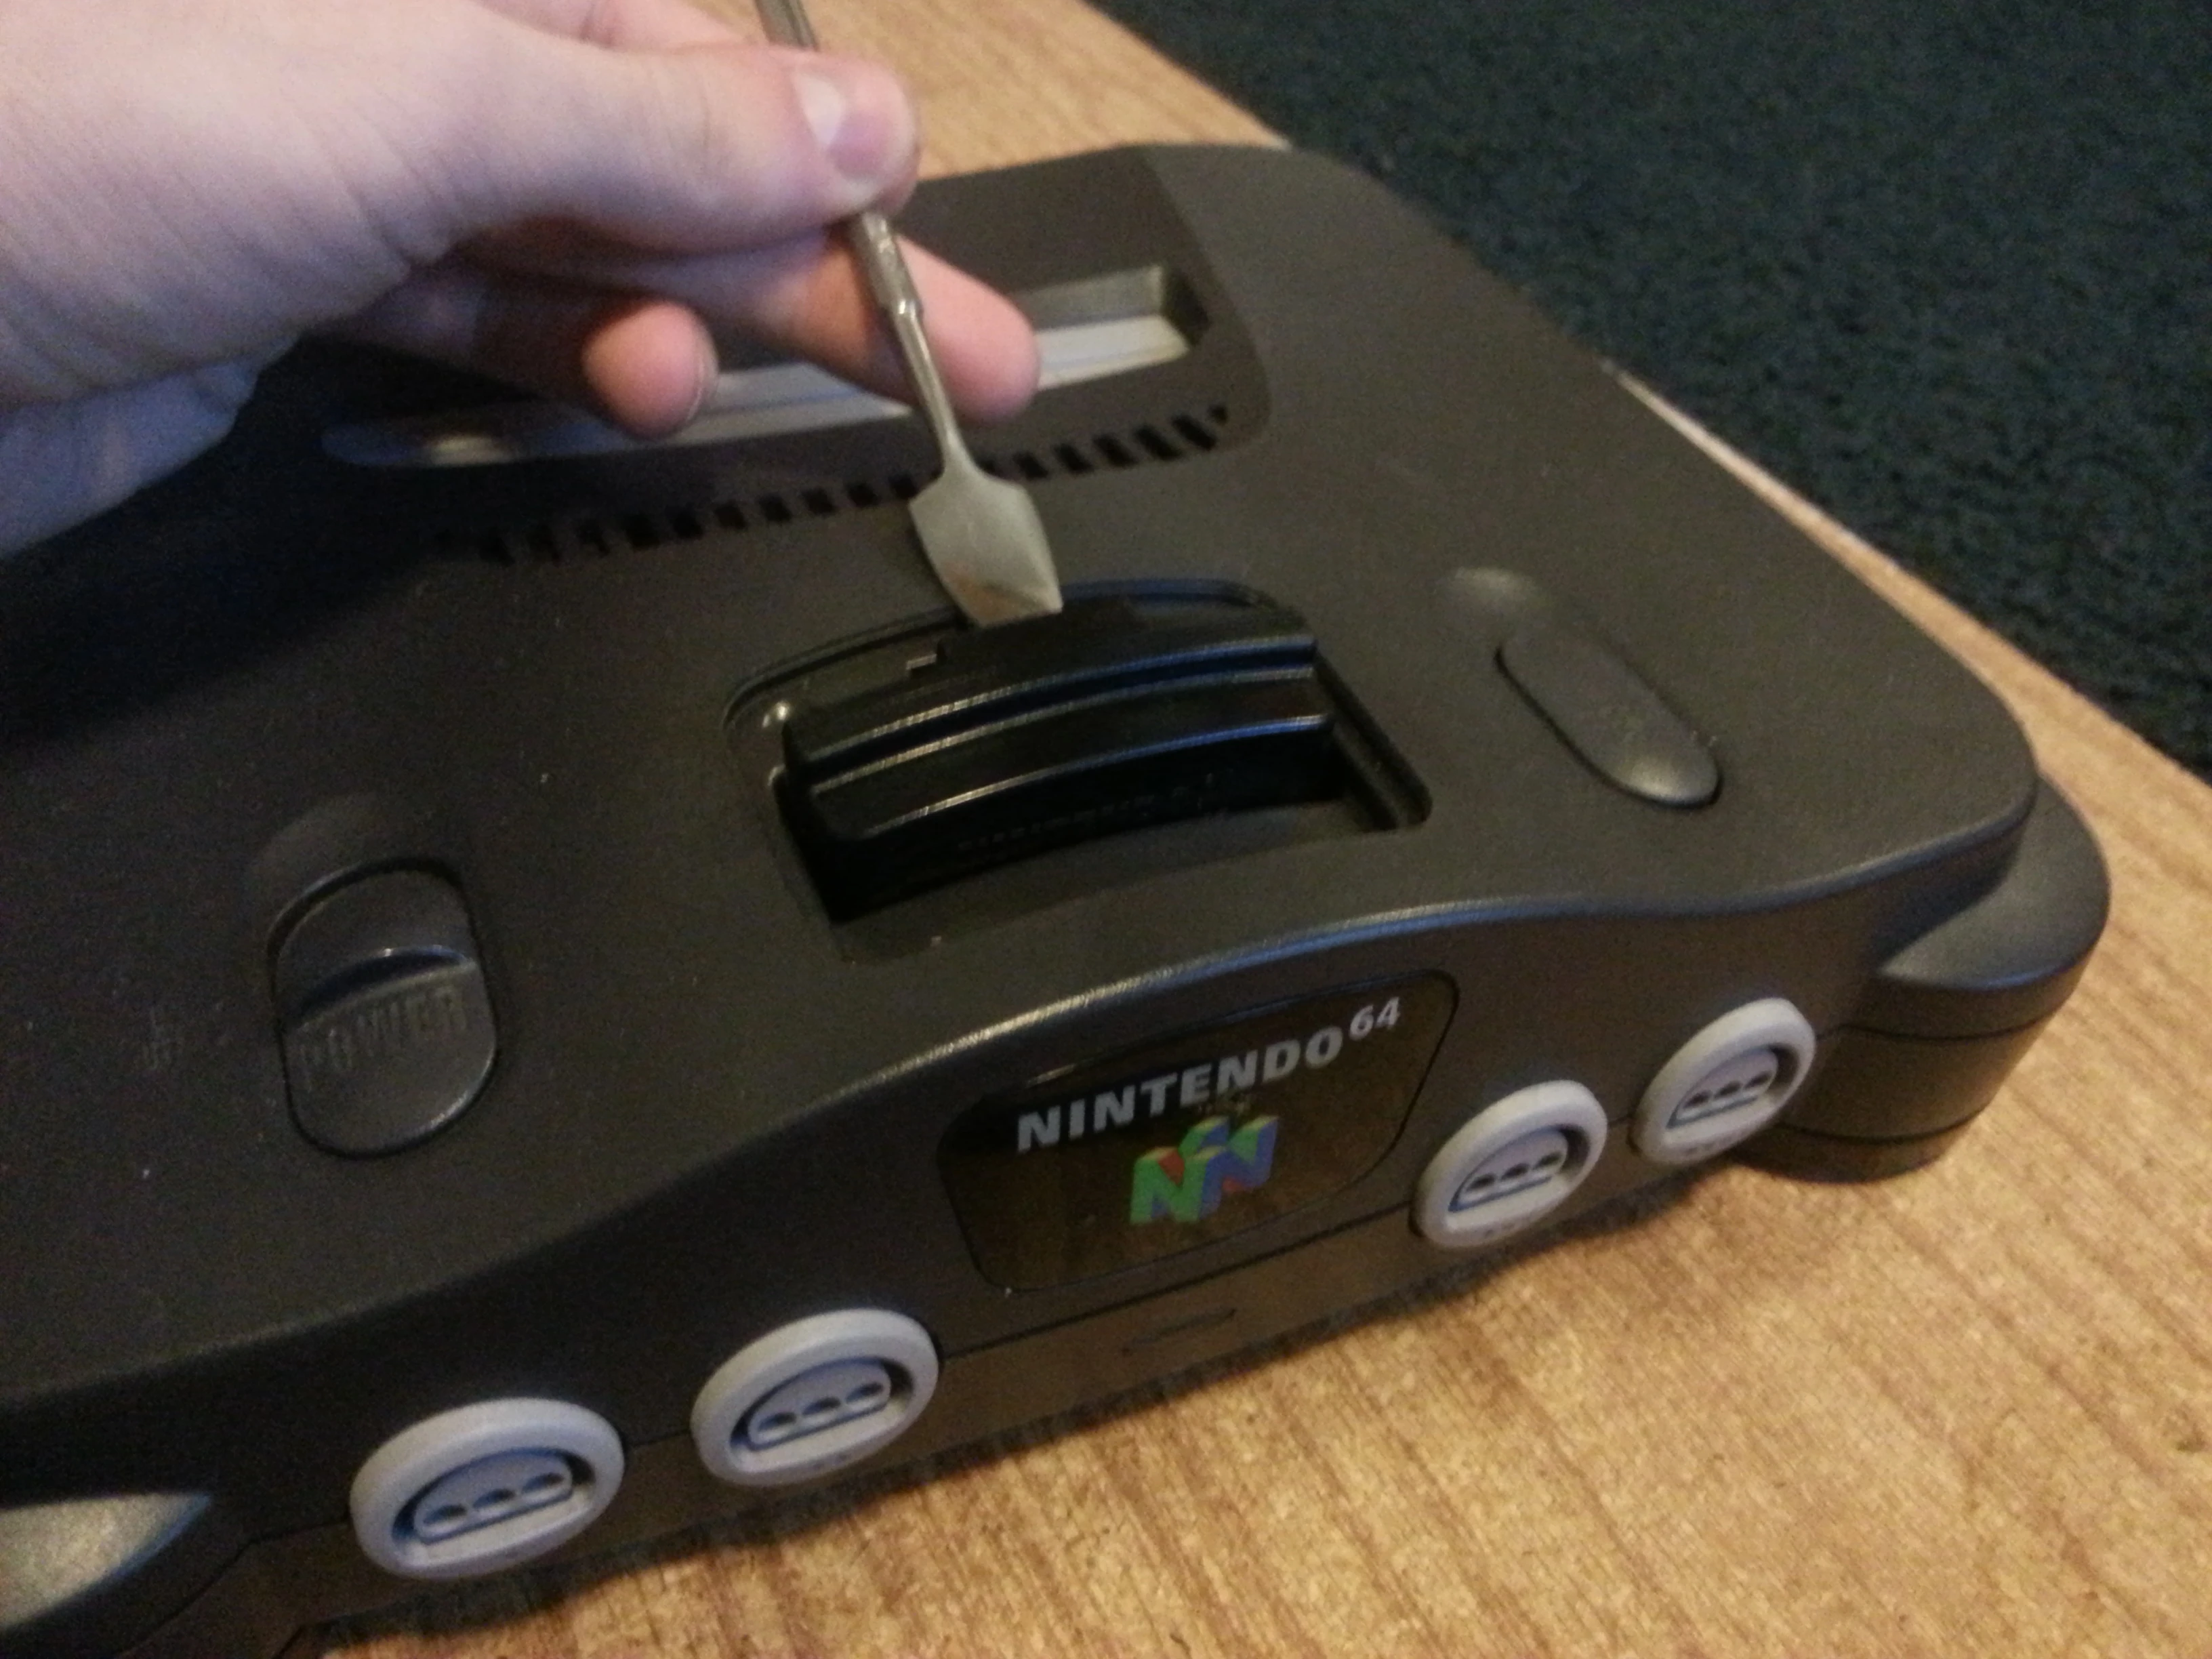
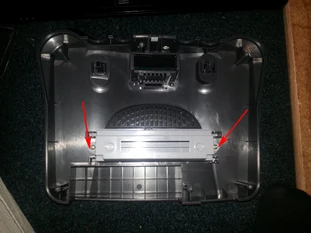
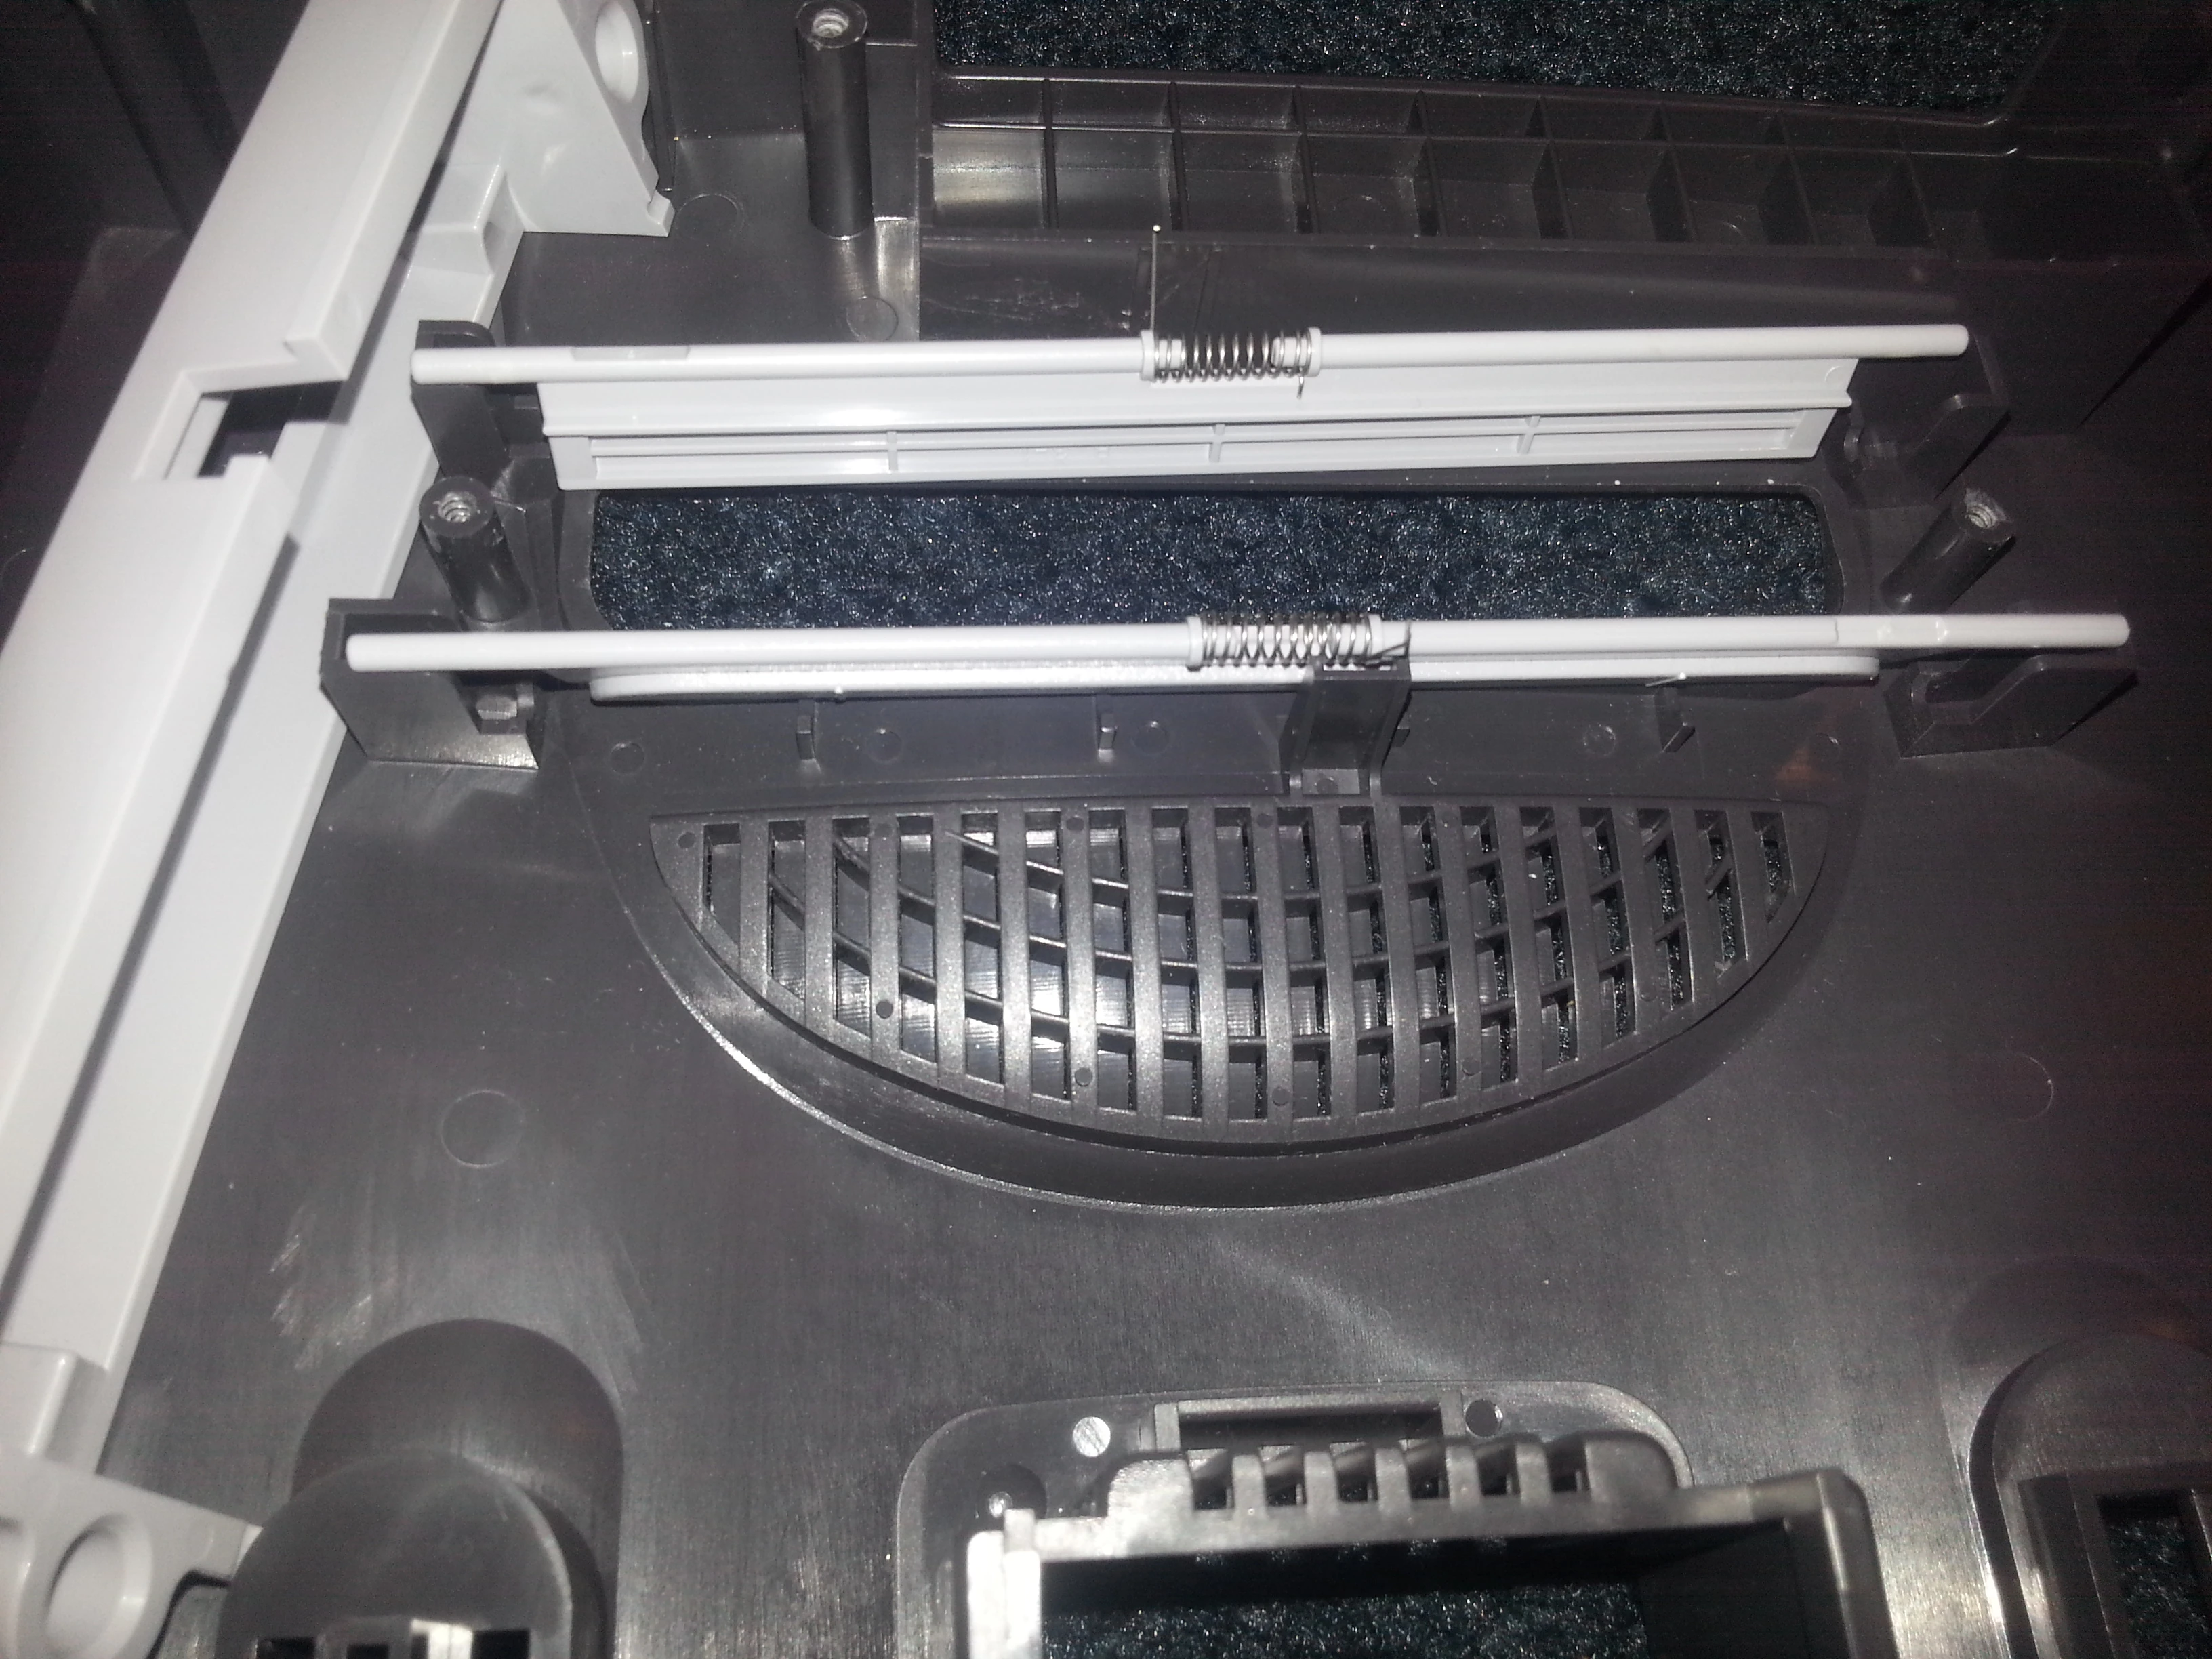
First begin by removing the power switch and reset button by pinching the two tabs at the bottom of the top half of the console. You should see two #1 Philips head screws holding down the light grey cartridge slot guard, unscrew these and pull up on the grey piece. the doors will be removable now and you're done!
Done[]


All disassembled
Congratulations, you have disassembled the entire console. Was this guide helpful? Do you have anything to add? If so let me know or add ideas below.